


With the Garmin Overlander GPS as your dedicated navigation device, you are ready to hit the tracks and start exploring. With the release of the Overlander, Garmin has jumped into the niche of overland travel. A smart move. According to them, the Overlander is the perfect device for off-grid travel and includes a huge range of datasets you might need when adventuring. Besides offering you navigational maps (turn-by-turn directions), it also includes a topographic map feature and integrations with Tracks4Africa, iOverlander, ACSI campsites, and TripAdvisor to mention a few.
Over the past 12+ years of travel, we have used everything to navigate, from paper maps to a range of dedicated navigation devices (mostly TomTom and the occasional Garmin) and of course our phones with multiple apps. All in all, we have experienced the benefits of having a dedicated device, but we have also frustrated ourselves with their always slow interfaces. Just before we set off on our trip to Africa, we came across the Garmin Overlander and fell in love with its seemingly useful features. We decided to buy it and have been daily users of the device ever since. So let’s see what it is, and whether it has benefited our travels.
The Overlander is Garmin’s answer to the traveler’s need to have a rugged device that has all the information necessary for a successful trip. With this device, they are offering a product that contains all the features and datasets we are normally looking for in separate apps. For us, this was one of the main reasons to buy this GPS navigator.
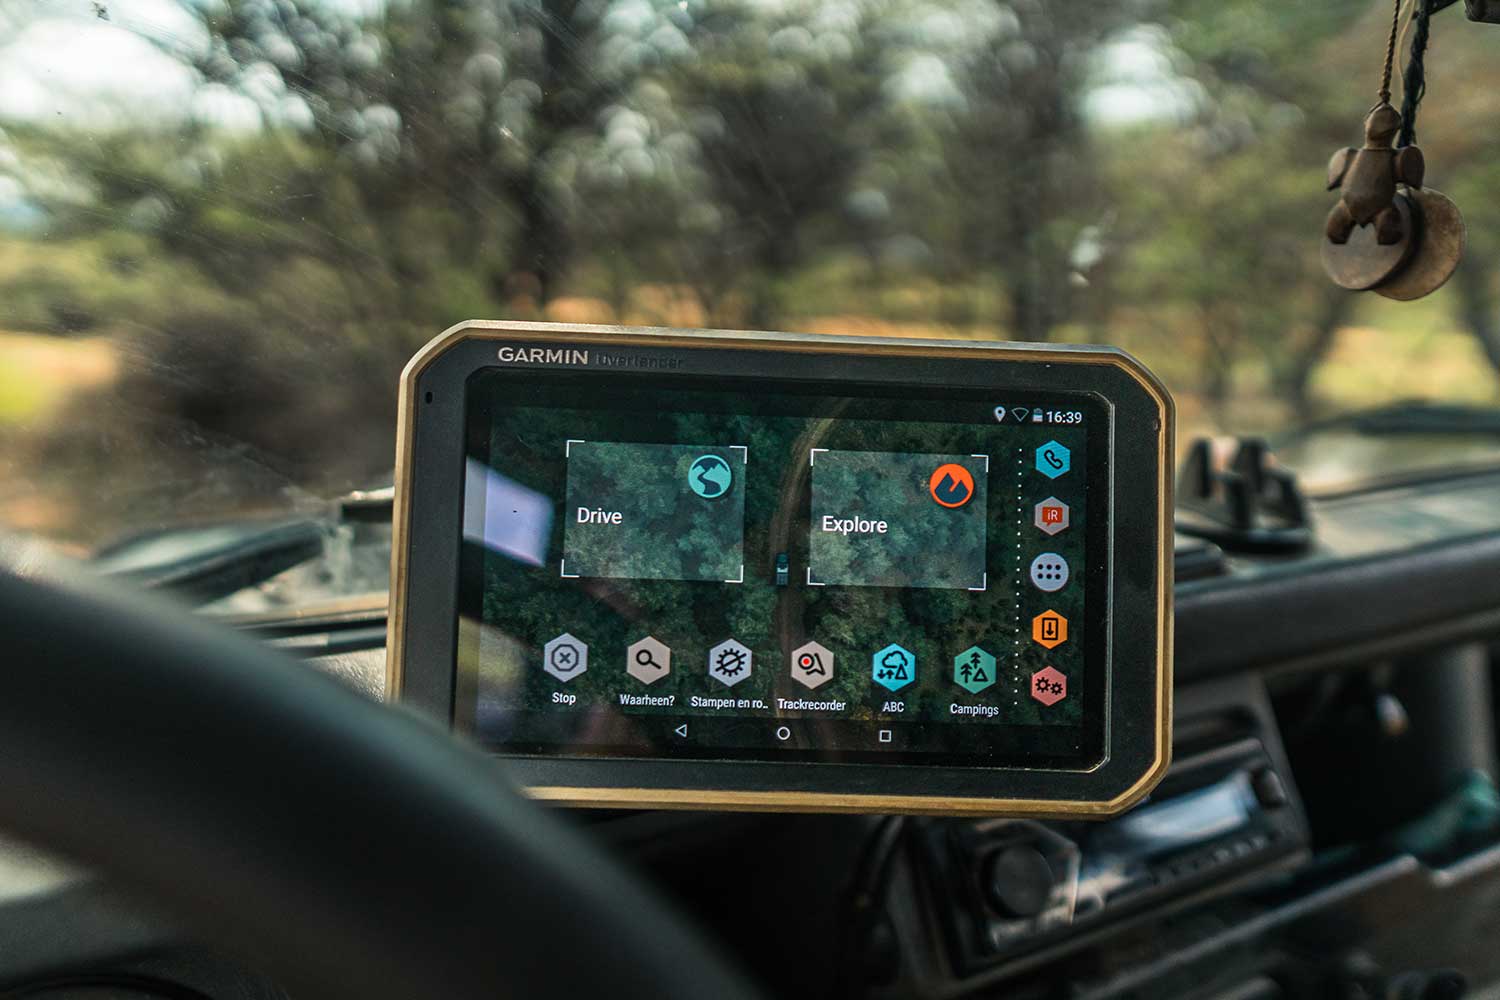
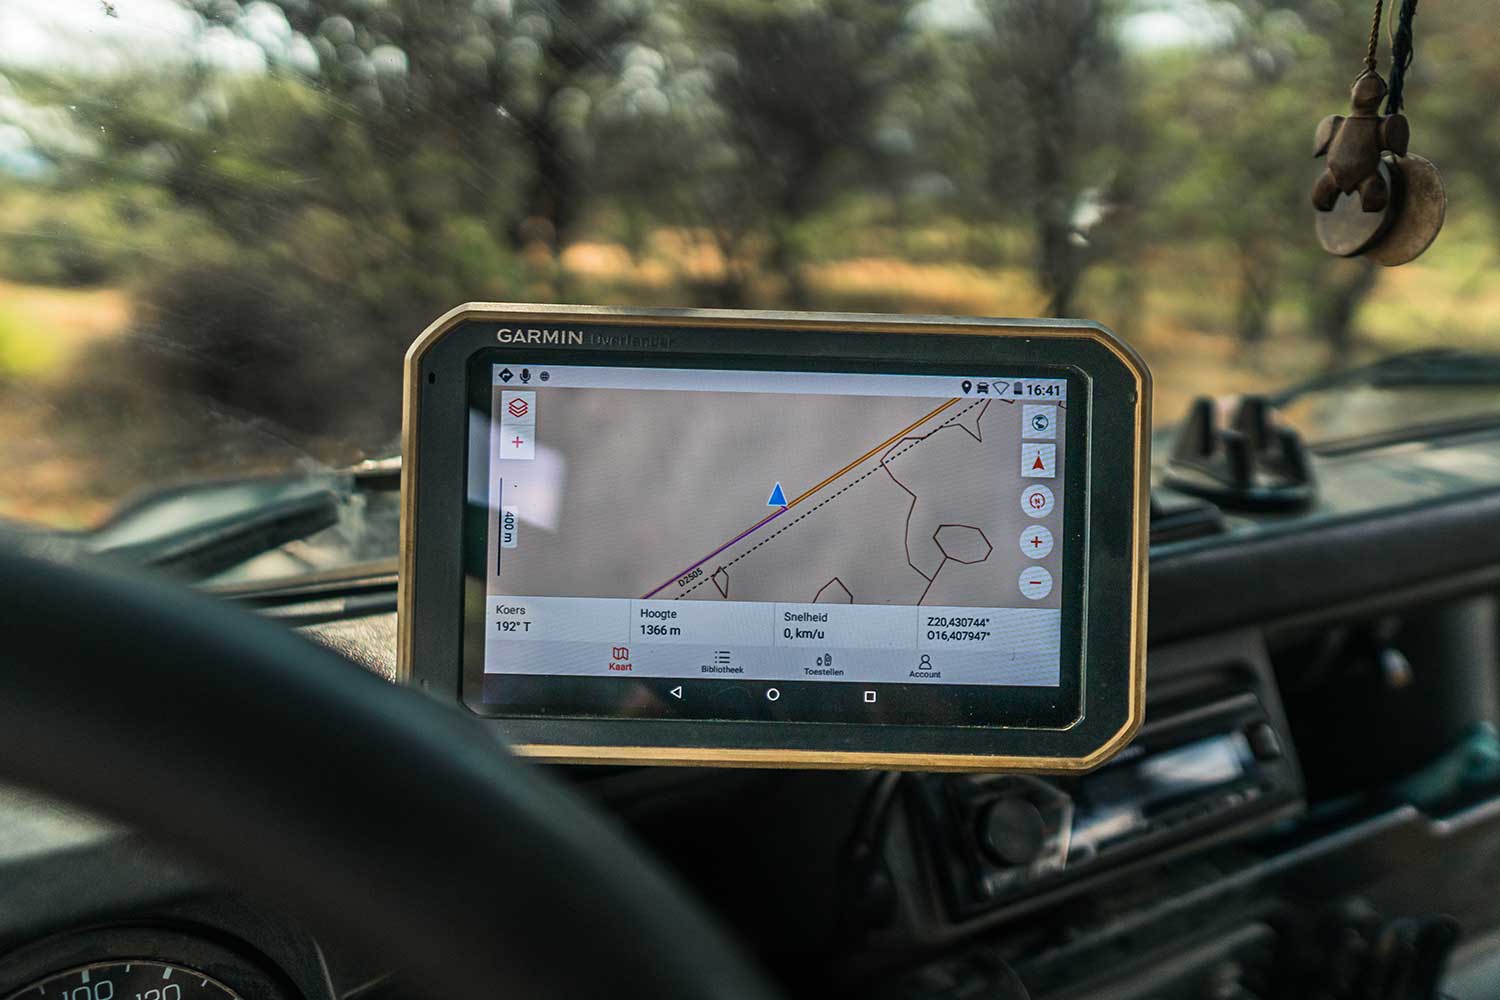
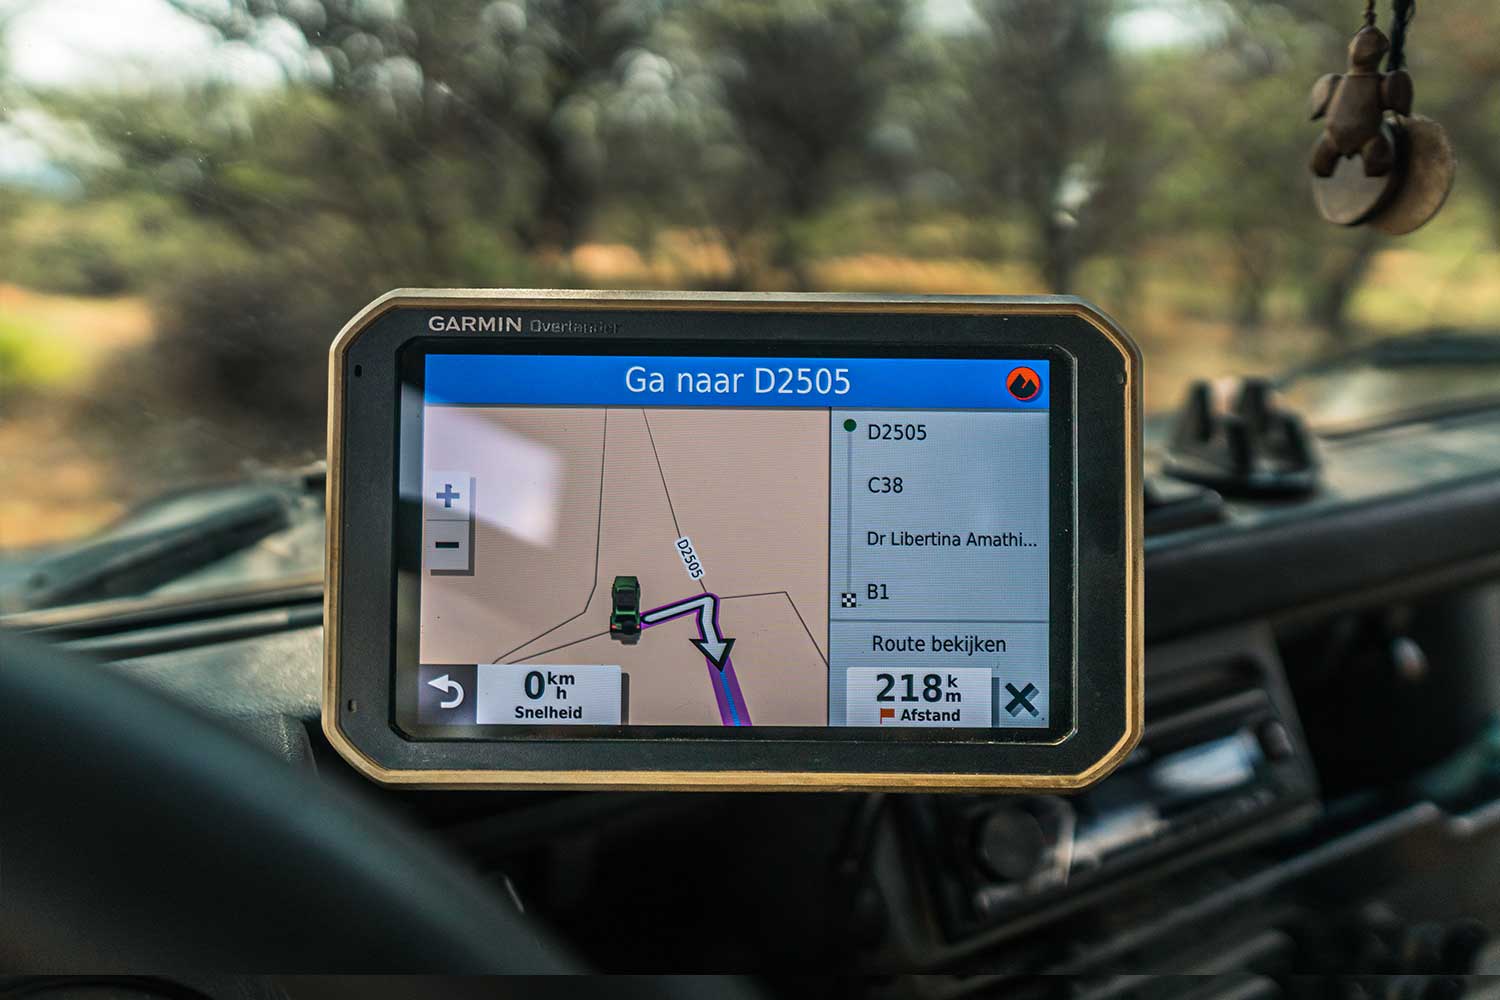
Besides all the nifty features, the Overlander offers you two navigation modes: Drive and Explore. The first one is familiar to many, offering you a birds-eye view of the road ahead, whilst providing you with turn-by-turn directions to navigate successfully. The latter, the Explore mode, is a 2D top view highlighting the roads, but also side-tracks and contour lines (elevation). The Explore mode is a topographic map that will display the route you’ve set in Drive mode but won’t show you any directions. The difference between the two is certainly the scenario in which they are used: on-road for navigation, or off-road whilst keeping an eye on the area’s tracks.
We primarily bought the device for these two navigation modes and their integration with different data providers. We surely haven’t used, or know about all features of the device. But for the data geeks in our community, the device also enables you to track your average speed, distance, and more. For tricky situations, or when parking to camp, the ‘Pitch and Roll’ function comes in handy. So whilst the device offers some fresh new features, in our opinion it is the huge range of preloaded Points of Interest that make it stand out above the crowd.
As mentioned, the Overlander integrates a huge variety of datasets in one device. With this data, they’ll make sure you have access to hundreds of thousands of points of interest (POI) to navigate.
The list of integrations includes the following:
With this massive list of pros and cons, it is time to conclude. In all honesty, this is going to be a difficult one. Over the years we have used dedicated navigation devices and our phones for navigation. We have gained quite some experience and have changed our minds more than once. At first, we did not see the benefit of having an extra device in our car. Now, as full-time travelers, we have to say that a dedicated device is a game-changer to free up your phones. So yes, we have grown to love the dedicated device for navigation. With that change of mindset, we would definitely recommend buying a separate GPS navigator. But should it be this one?
Talking about the Overlander we have mixed feelings about our advice. It all depends on your needs and level of comfort. The fact that it has iOverlander and other POI data included on the device is a game-changer, as it makes navigating to these spots super-fast. Unfortunately, it does not display any (recent) reviews for iOverlander, but in real life, we notice that we use the iOverlander app on the phone to do research, and only use the iOverlander function of the Overlander to easily navigate to our spot.
When talking about the Tracks4Africa integration, an app we started to use when we entered Namibia, we came to the same conclusion. Having the POIs integrated into the device is really helpful when selecting your destination. This actually saves you quite some frustration and time and works perfectly. But the Tracks4Africa app contains much more information and displays the data way better. Unfortunately, the Tracks4Africa app will cost you some money when fully functional, so using both this app and the Overlander won’t be for everyone.
The Explore mode contains much more detail than the Drive mode, which makes this mode much more interesting when adventuring. Unfortunately, it isn’t as detailed as certain navigational apps on the phone. Therefore it is nice to have the Overlander on Explore while discovering remote regions, but you’ll often find yourself using the phone as well. Missing a certain track can make the difference of you getting to your destination on time, or running out of water somewhere in the desert. Having the most information possible is key to worry-free navigation. Therefore, you’ll most likely end up using a combination of Drive-mode (insufficient detail, but navigational), Explore-mode (for an overview of the tracks), and sometimes add a phone in the mix when you’re unsure about the tracks up ahead.
With all of the above in mind, it is time for a conclusion. Let’s start with the fact that we mostly use this GPS device for turn-by-turn navigation and off-road situational awareness. Having a dedicated device has made all the difference for a worry-free trip. It saved us from a lot of hassle with our phones in warmer climates and with everything that’s happening on the road. Switching from our phones to a dedicated navigator has been outstanding.
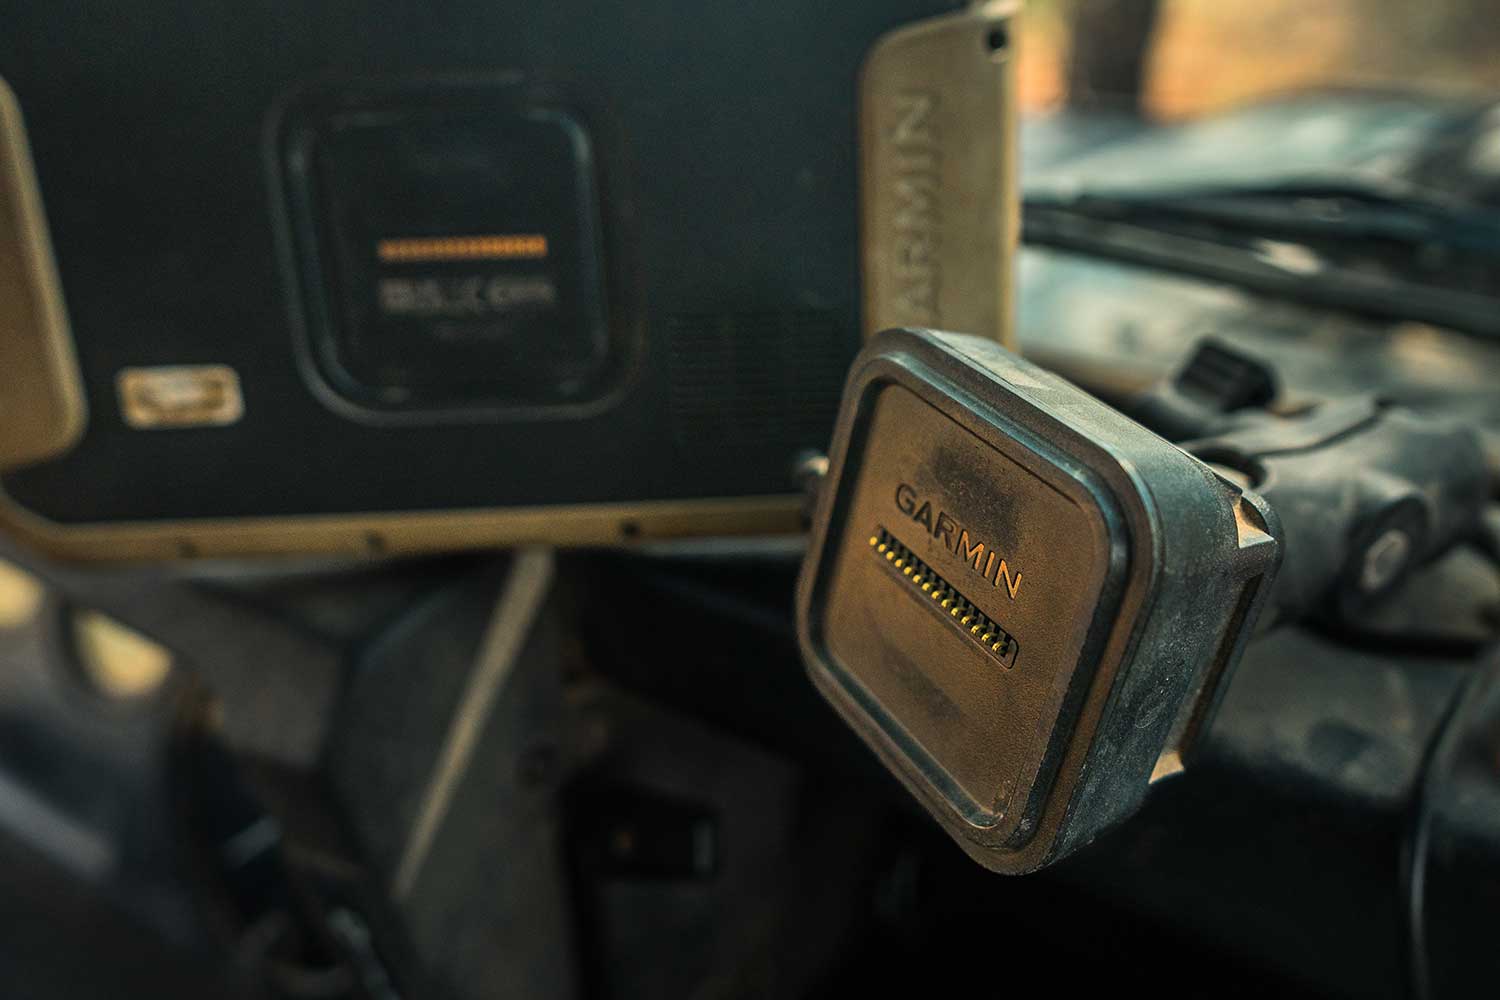
The Overlander is very well-built, has a great magnetic holder, and comes with all the POI data a traveler might want. The integration of the external POIs is where the Overlander really stands out above the crowd, as it makes setting your destination a thousand times easier. The screen size is amazing and the Explore mode is pretty cool to use. But with these positive features in mind, it is good to know that this navigator is a bit more expensive than other sat-nav devices and has some drawbacks as well. The level of detail on the maps isn’t up to standard, the POI integrations are easy to use but lack some detailed information, and the device can be very stubborn when starting.
Overall, looking at the Garmin product range, we would never leave the Garmin InReach Mini behind, but this device certainly needs some extra development before would fully recommend it to other travelers. This time, it is up to you to decide what features are important to you and if it’s worth the price difference when comparing it to other GPS devices.
Feel free to contact us if you have any questions, about certain features and would like our opinion on it.
As long-term overlanders we fully understand the need for high-quality and reliable gear. We know that if gear isn’t up to standard it can hinder your adventures, resulting in discomfort or a dangerous situation.
We write our reviews after extensive testing and with you – an adventurous overlander – in mind. We hope you appreciate our information, and feel free to reach out if you have any questions.
Appreciate this info and have something to spare? Buy us a coffee!
We hope our blog provided you with practical information that’s useful to your adventures. Want to dive deeper into this or other subjects, and plan a call? We are here to help!


0 Comments