


Want to discuss more of our experiences with the Nimbus setup? We are always on the move and thus are always gaining new insights. Feel free to reach out!
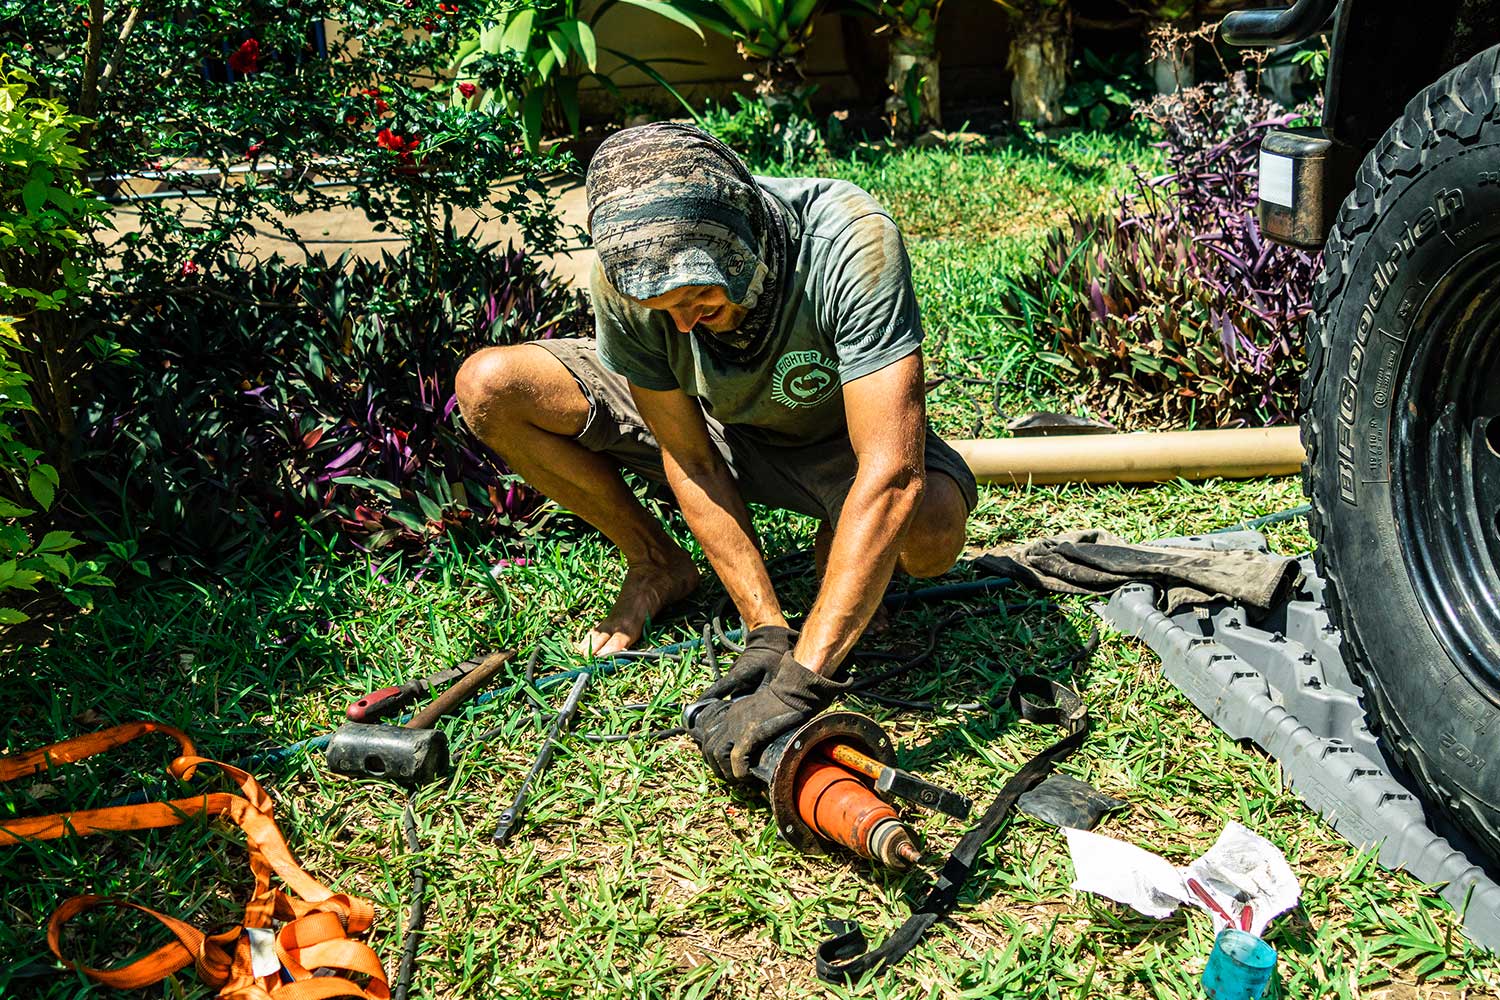
We recently received our custom-made Nimbus oleo-pneumatic shock absorbers in Mozambique and couldn’t wait to install them. This three-part series discusses our first impressions and the company, the installation, and our first review after 5000 African kilometers. We can’t wait to share more with you, as we’ve been in contact with Nimbus for the past year regarding their specialist technology, and now the time has finally come to install our new kit. Although this installation is specific to our Defender 110, we believe some key takeaways apply to different vehicle models. The biggest challenge for us? Installing them in a remote town in Mozambique, on a campsite (read: backyard) with no special tools or even a proper jack. It’s 40 degrees Celsius, so let the challenge begin.
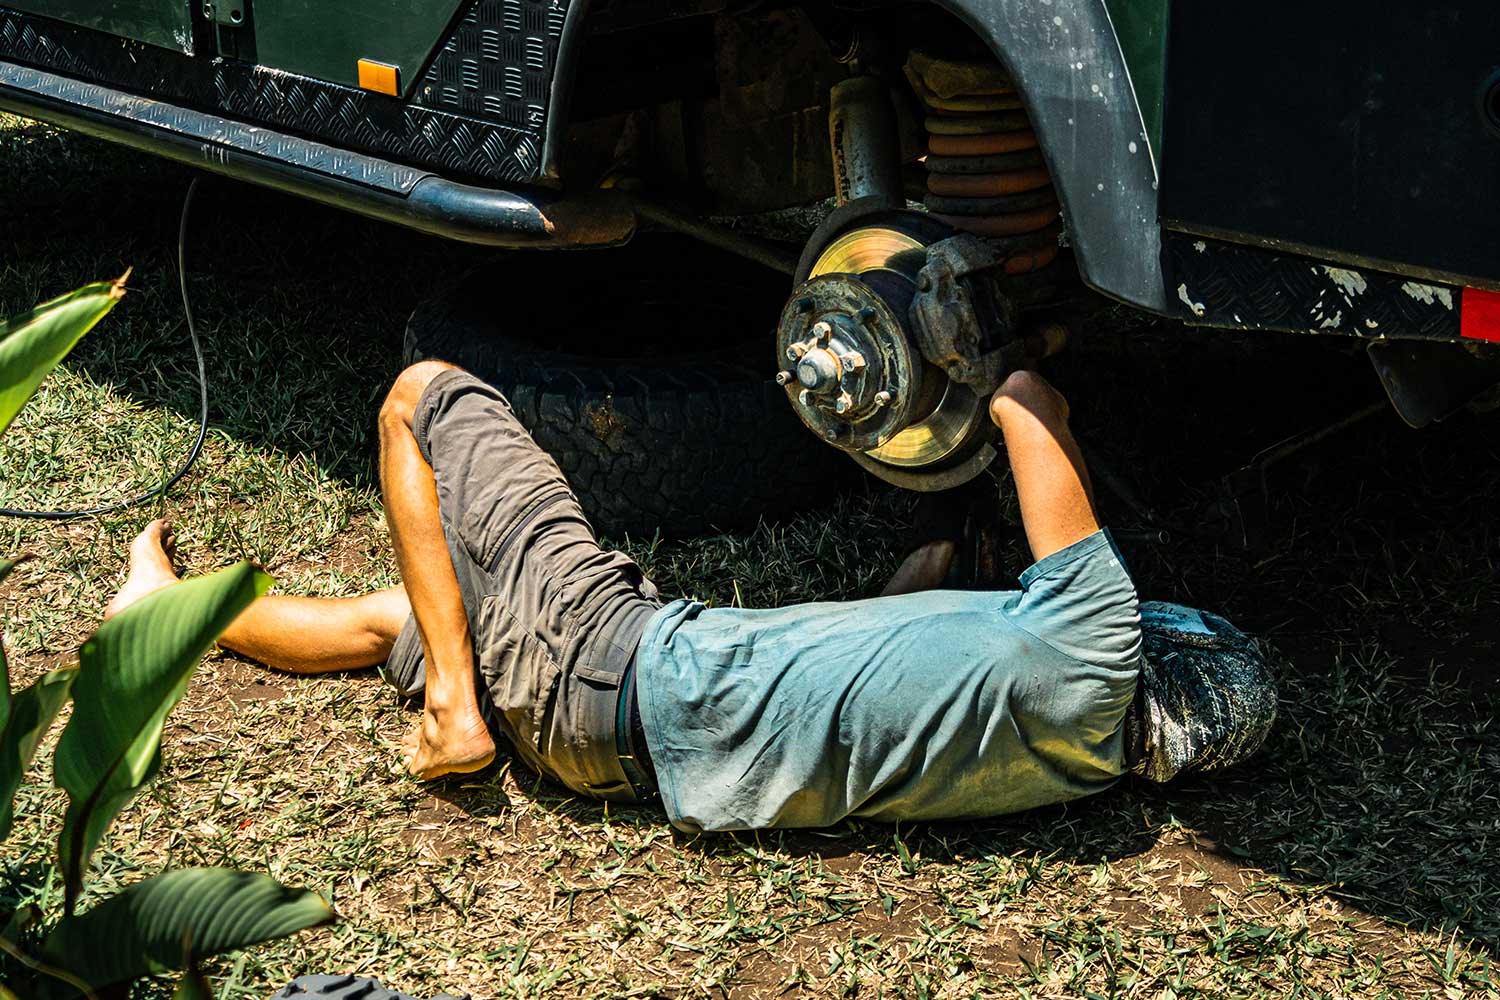
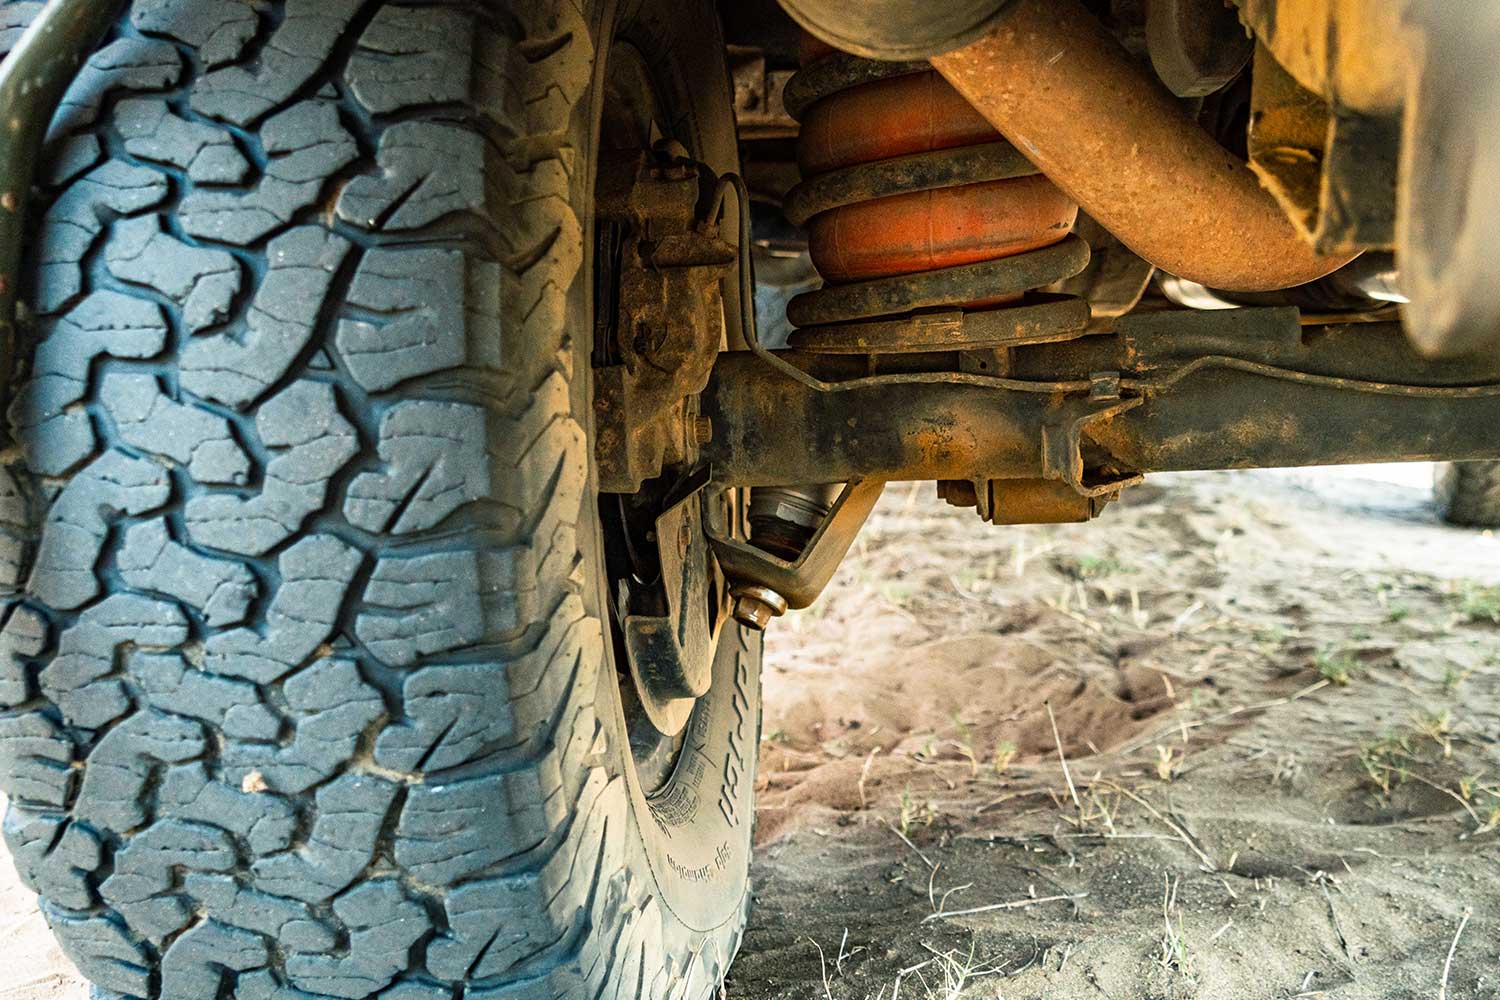
The biggest hurdle with new parts is always removing the old stuff first. Especially on 25-year-old Land Rovers, things tend to rust and the last time we replaced the suspension setup was back home 2,5 years ago. With this installation, the challenges were the same, as removing the old components proved to be more challenging than we hoped.
We started by removing the setup on the rear. Something that was mostly problematic due to the amount of rusted bolts, and rounded studs. We didn’t have the proper tools to deal with this, and at the time we were tackling the job all stores were closed due to civil unrest. However, after soaking everything in lubricant and adding some perseverance, it started to go our way.
Then, we disconnected the anti-roll bars on both the front and rear, to allow for greater articulation which we need for the installation. To remove the rear shocks we had to use rubber mattings and ratchet straps to prevent the shock from turning. It was mostly trial and error with the straps that slowed us down, but soon enough the shocks were off. The last step to prepare for the installation was the removal of the bottom cups on the shock mount. Killian (Nimbus’ CPO) advised us to remove them to smoothen the installation of their ball joint. Oftentimes these cups are already removed to prevent strain on the original system, so they might not be present in your system.
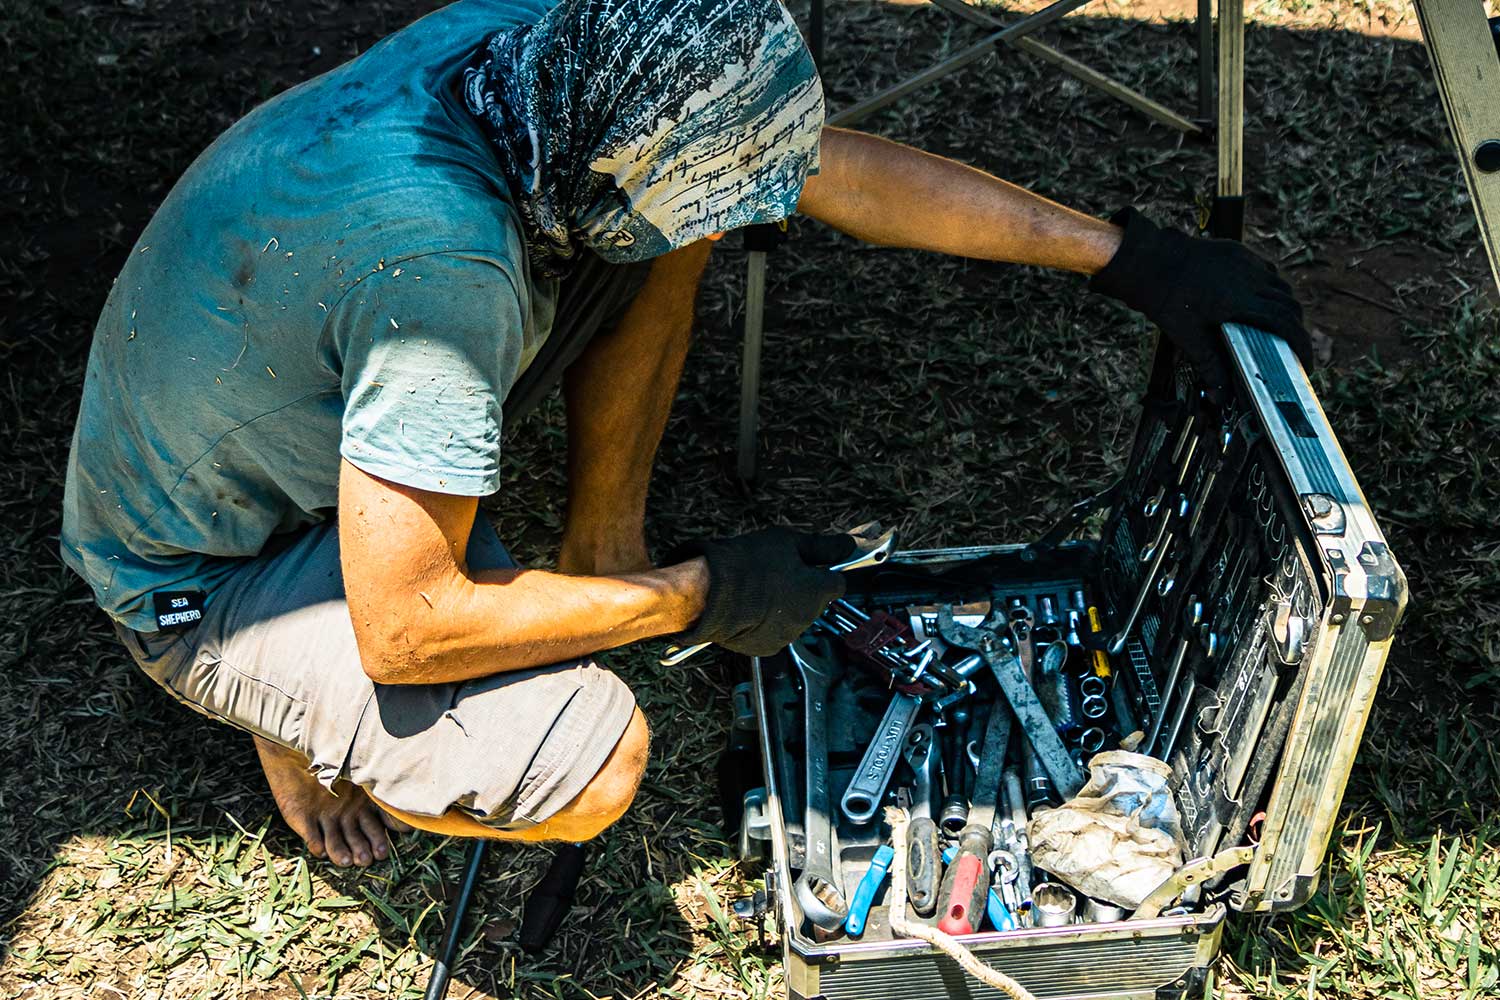
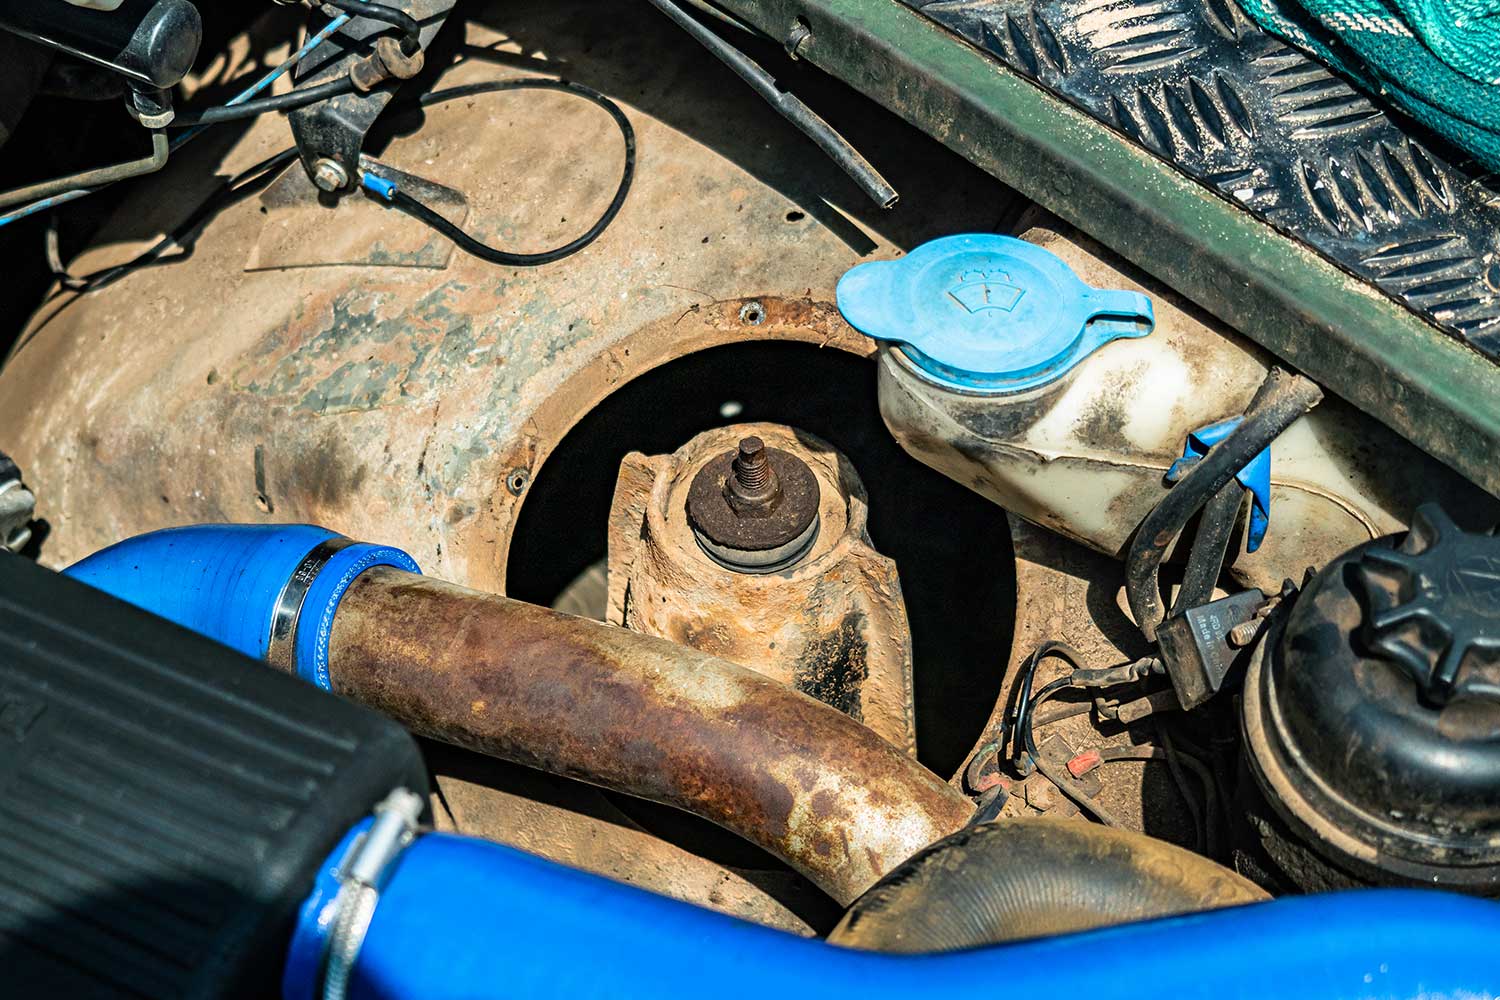
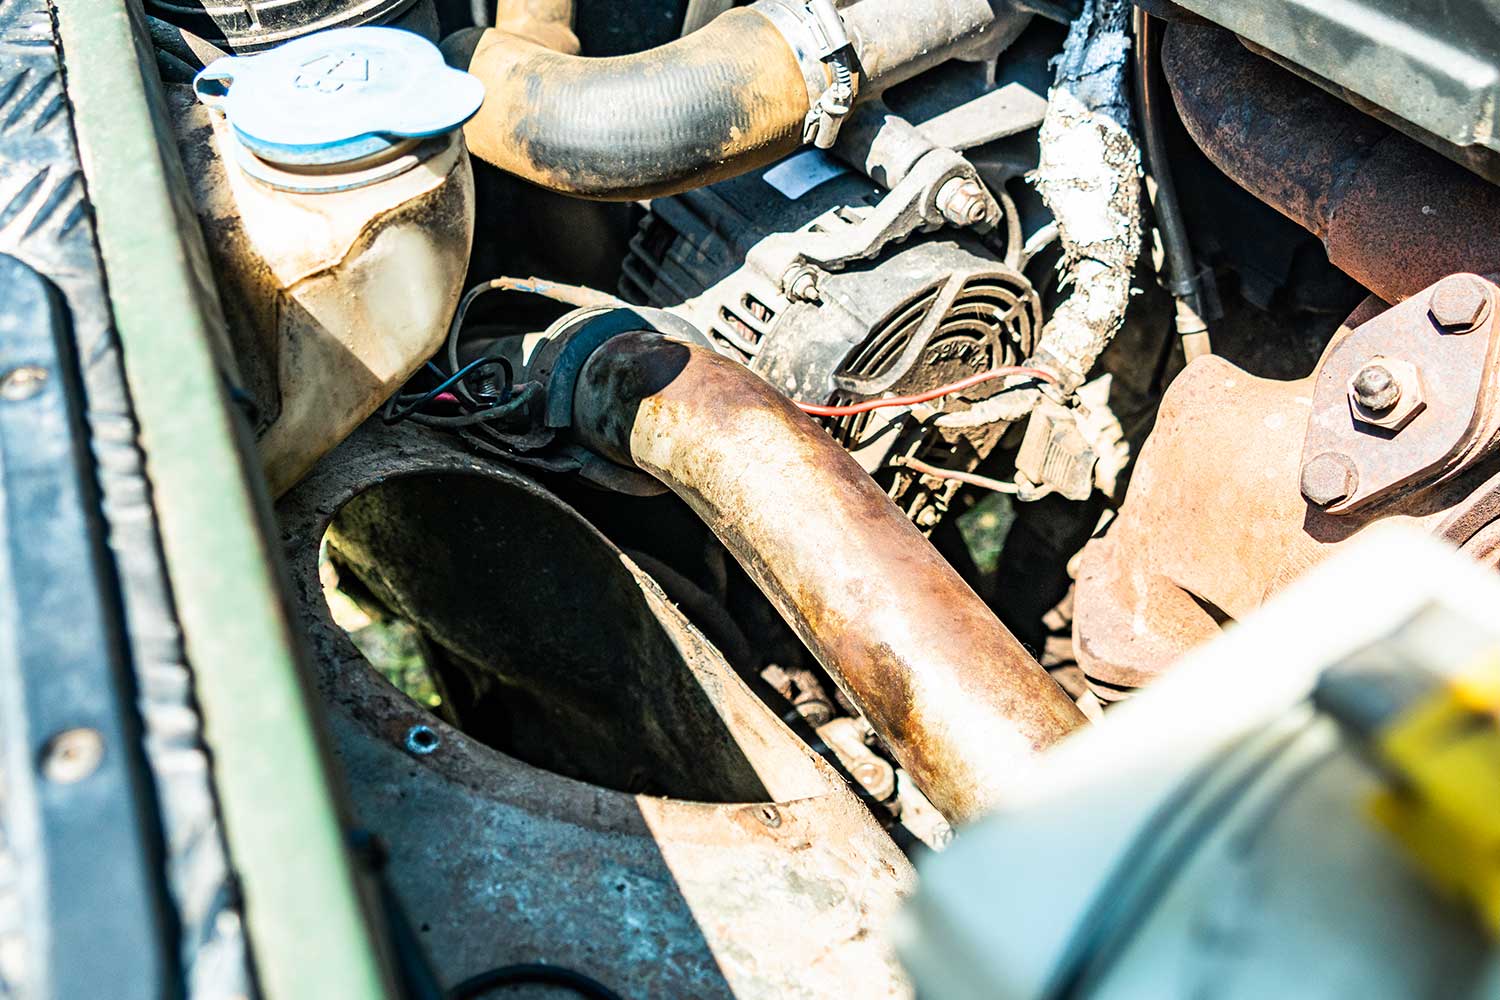
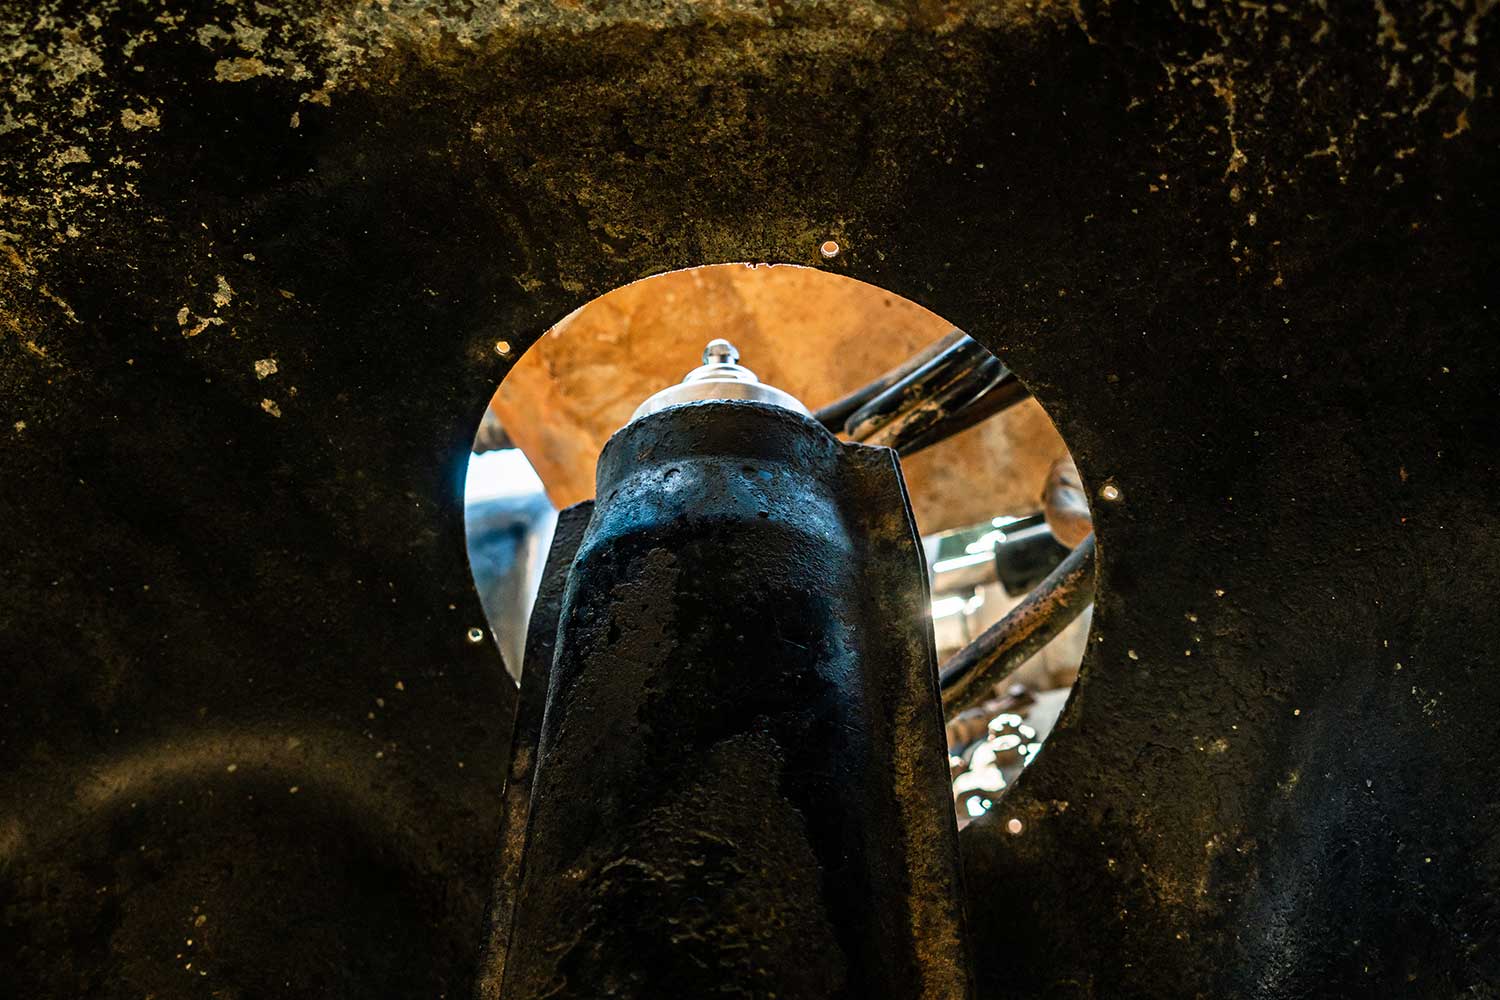
In the front, we removed some components in the engine bay so the shock turrets had space to come out. Our biggest challenge was the lack of a proper spanner to remove the bottom nut. Luckily, with some perseverance, those came off as well, and we could undo the turret nuts and take the whole assembly out via the engine bay. Additionally, the shocks had to be removed from the turrets, which was slightly problematic as everything kept turning. Since we weren’t planning on keeping the old shocks, we just stuck a hammer in there to keep everything in place. It was not how we would have done it if we had a choice, but as we said, we had limited tools and options available.
Although your setup might be slightly different, we needed the following to remove the old setup and install the new kit.
Installation of the new shocks is straightforward, as long as you lift the vehicle high enough. We needed the following additional tools for the installation:
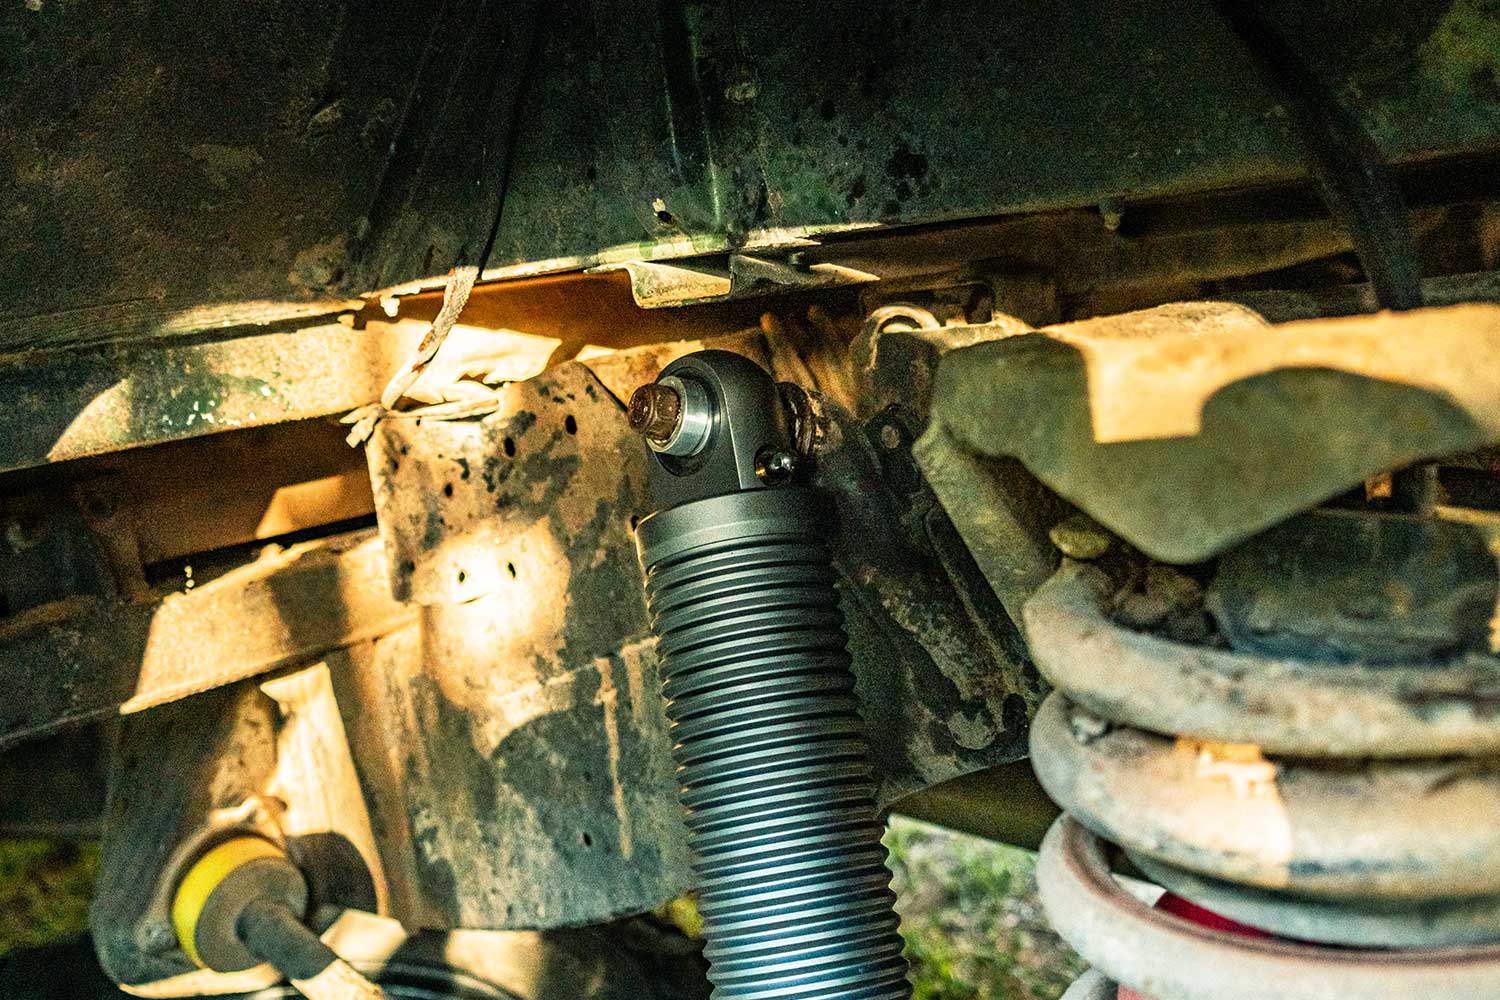
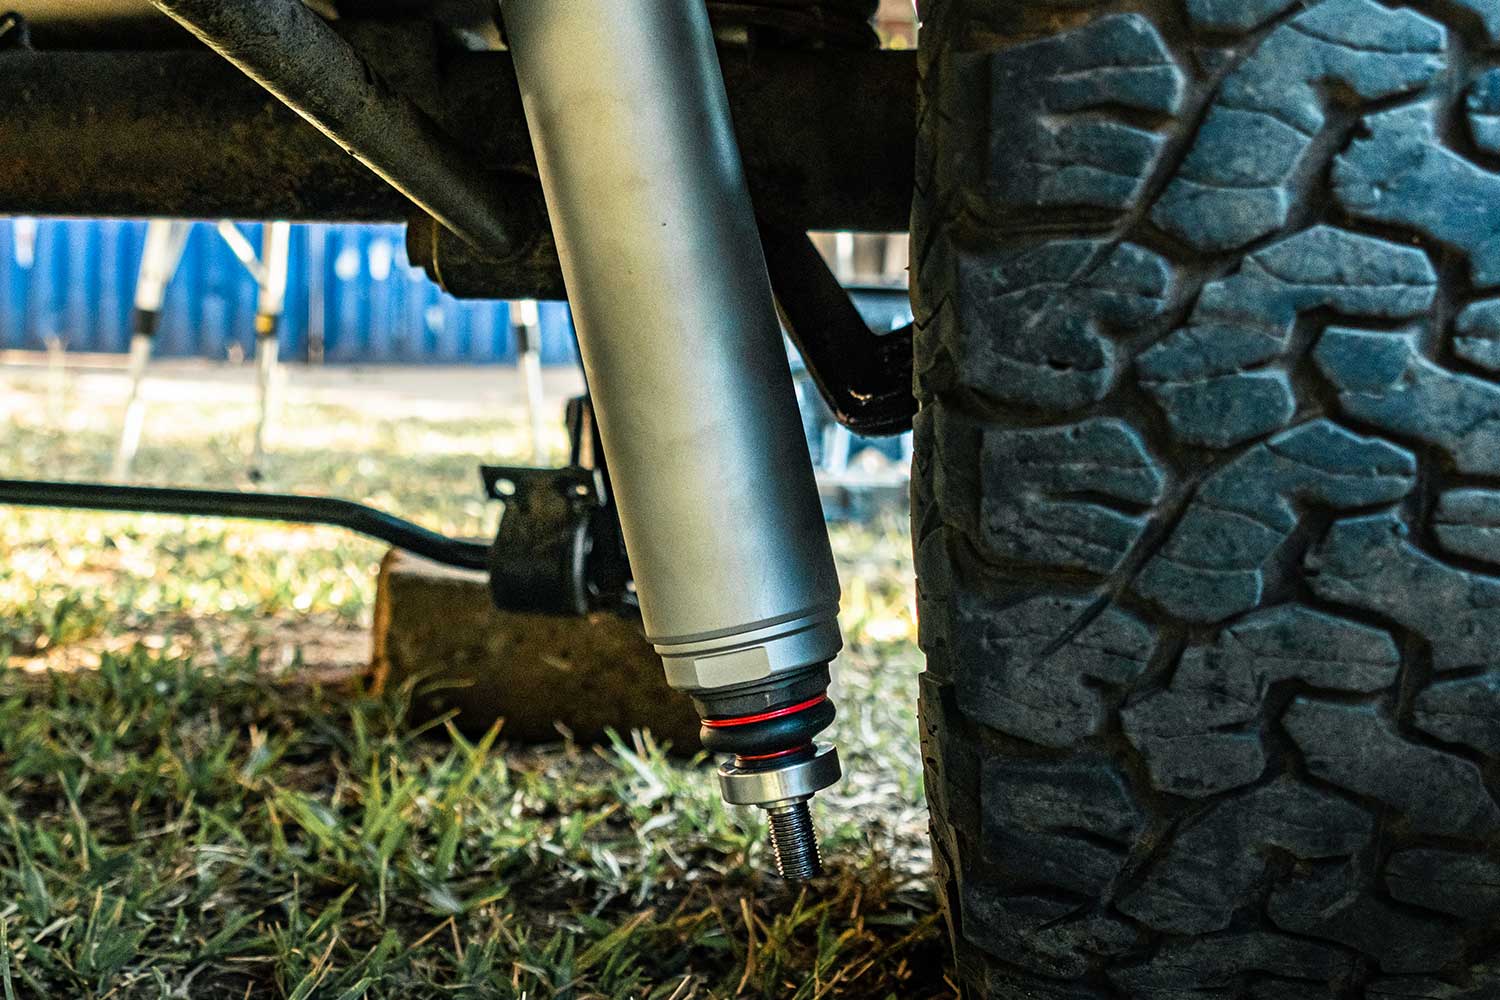
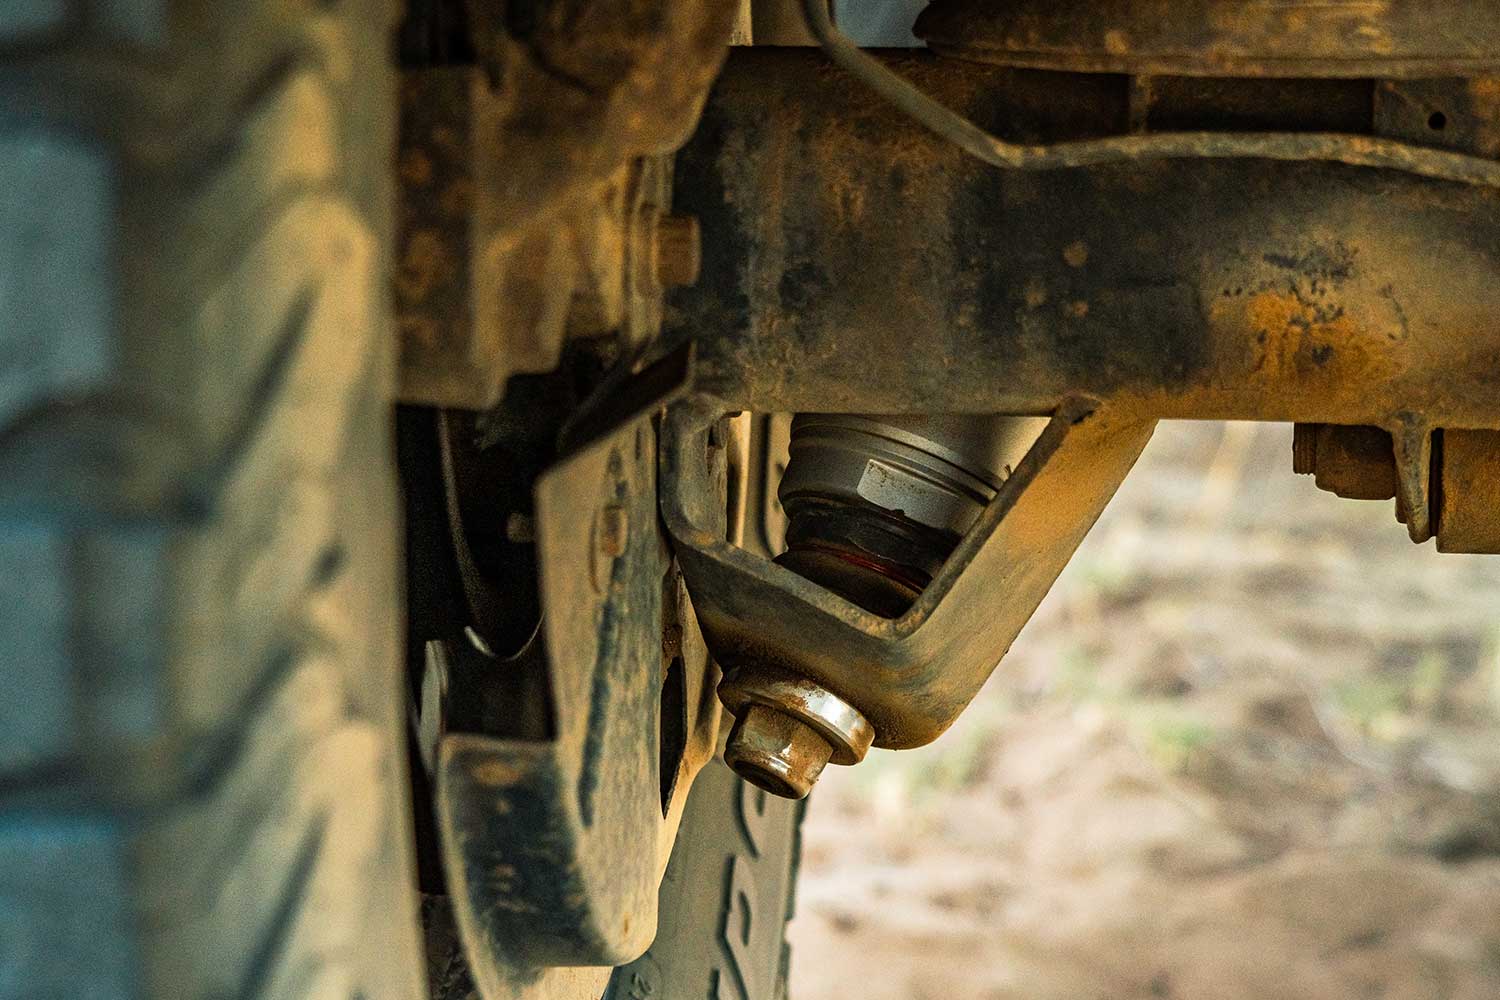
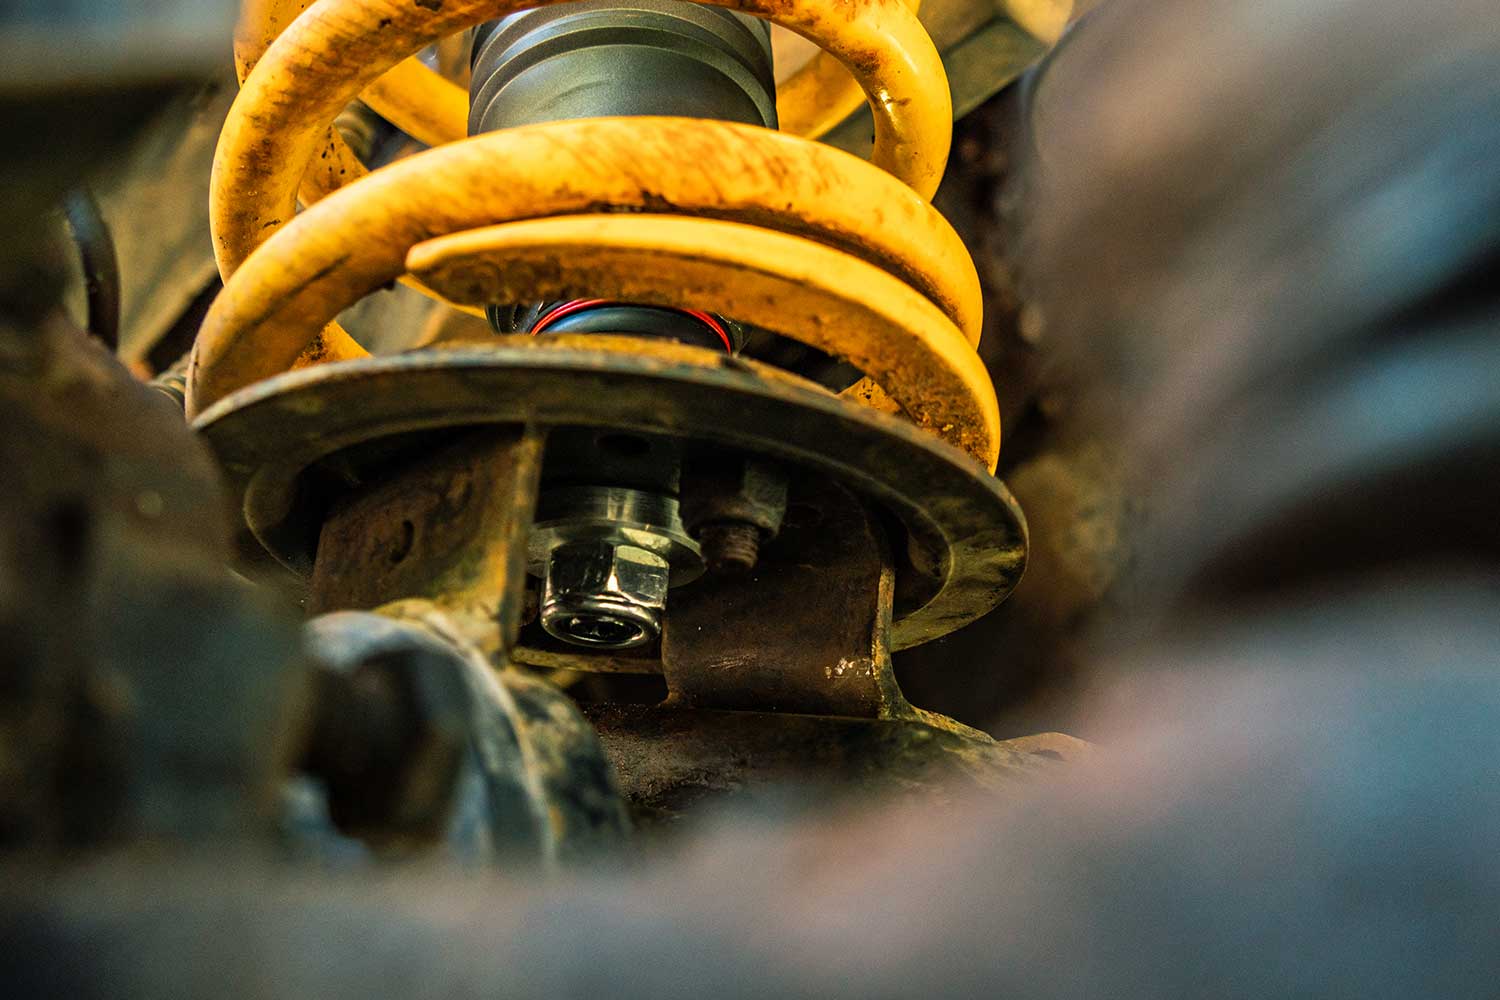
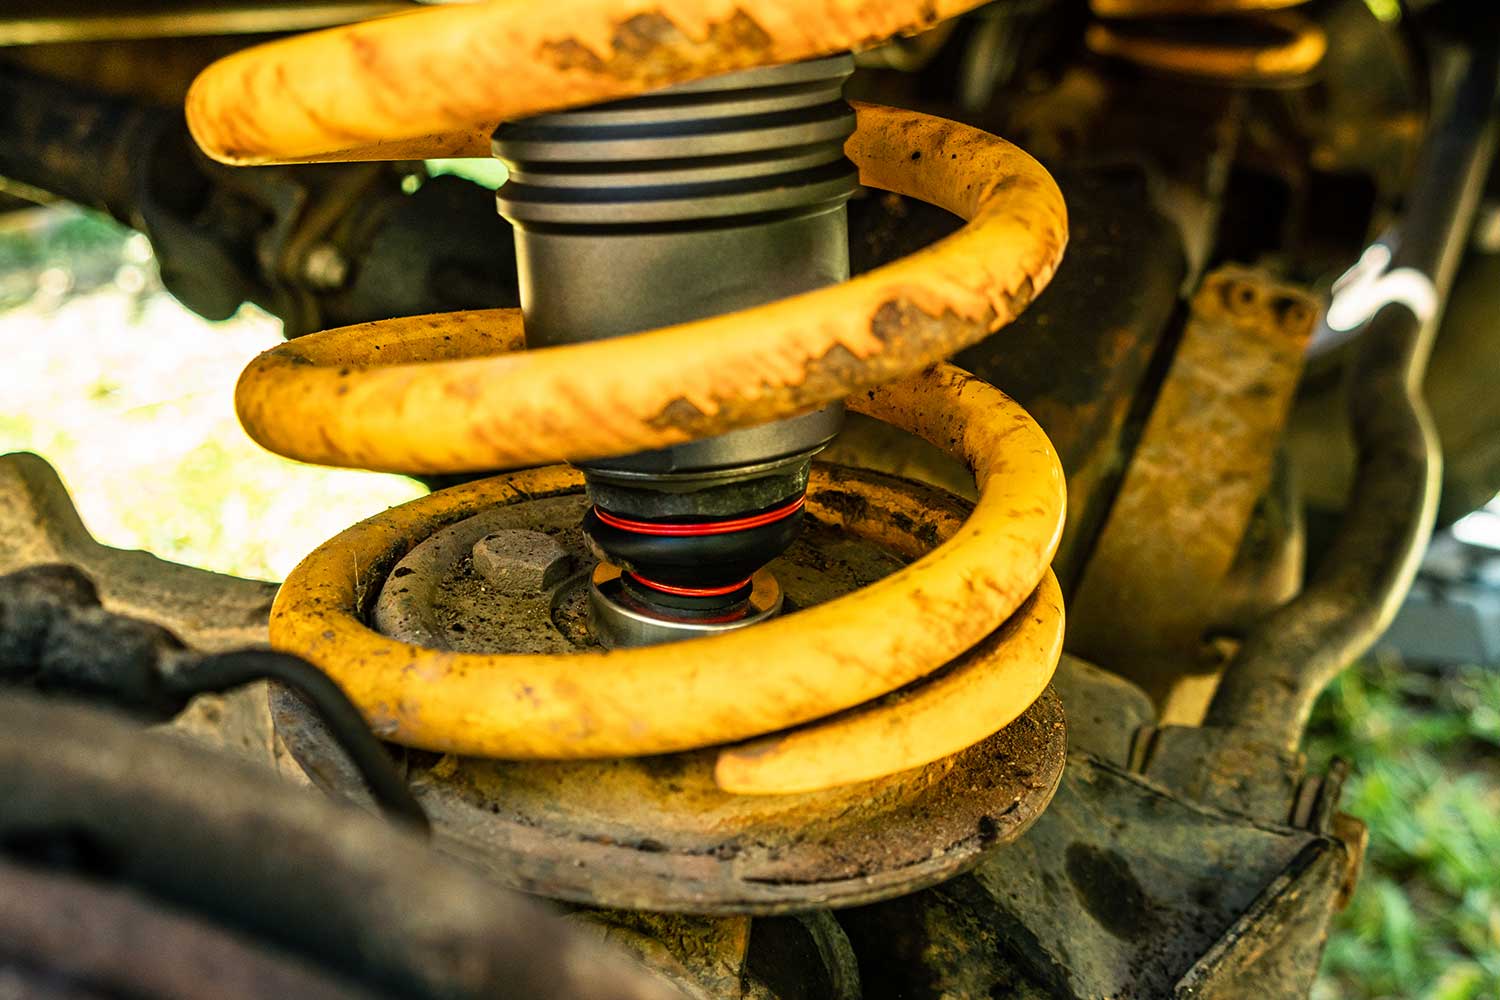
Instead of a square stud, the Nimbus setup has a ball joint on the bottom accommodating a Torx key, aiding in the future removal of the setup.
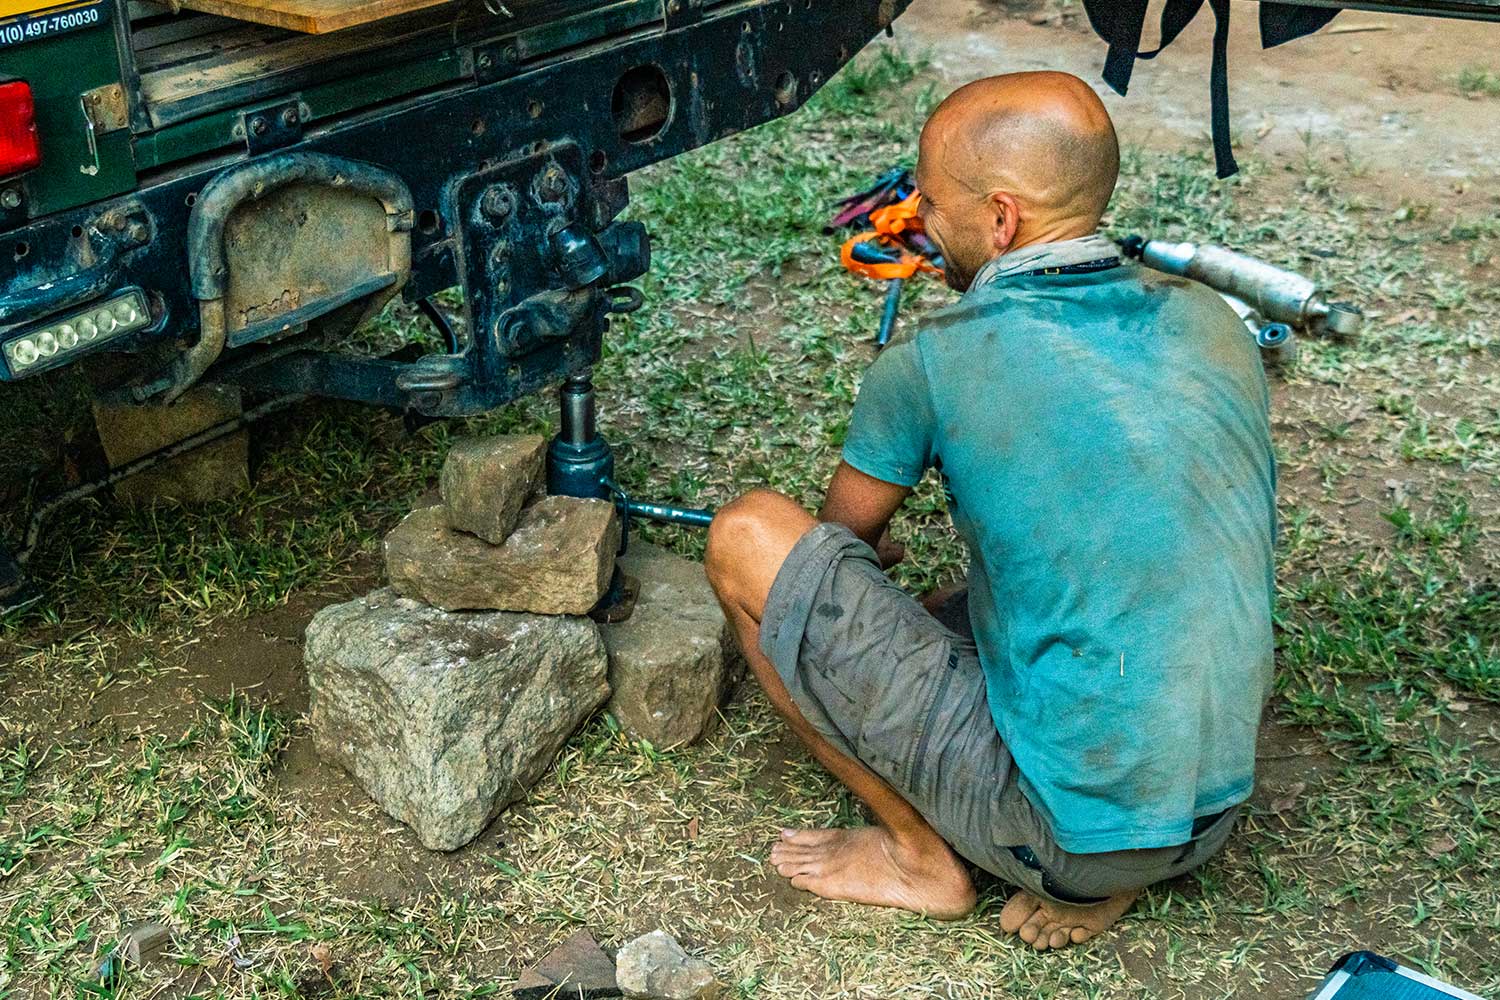
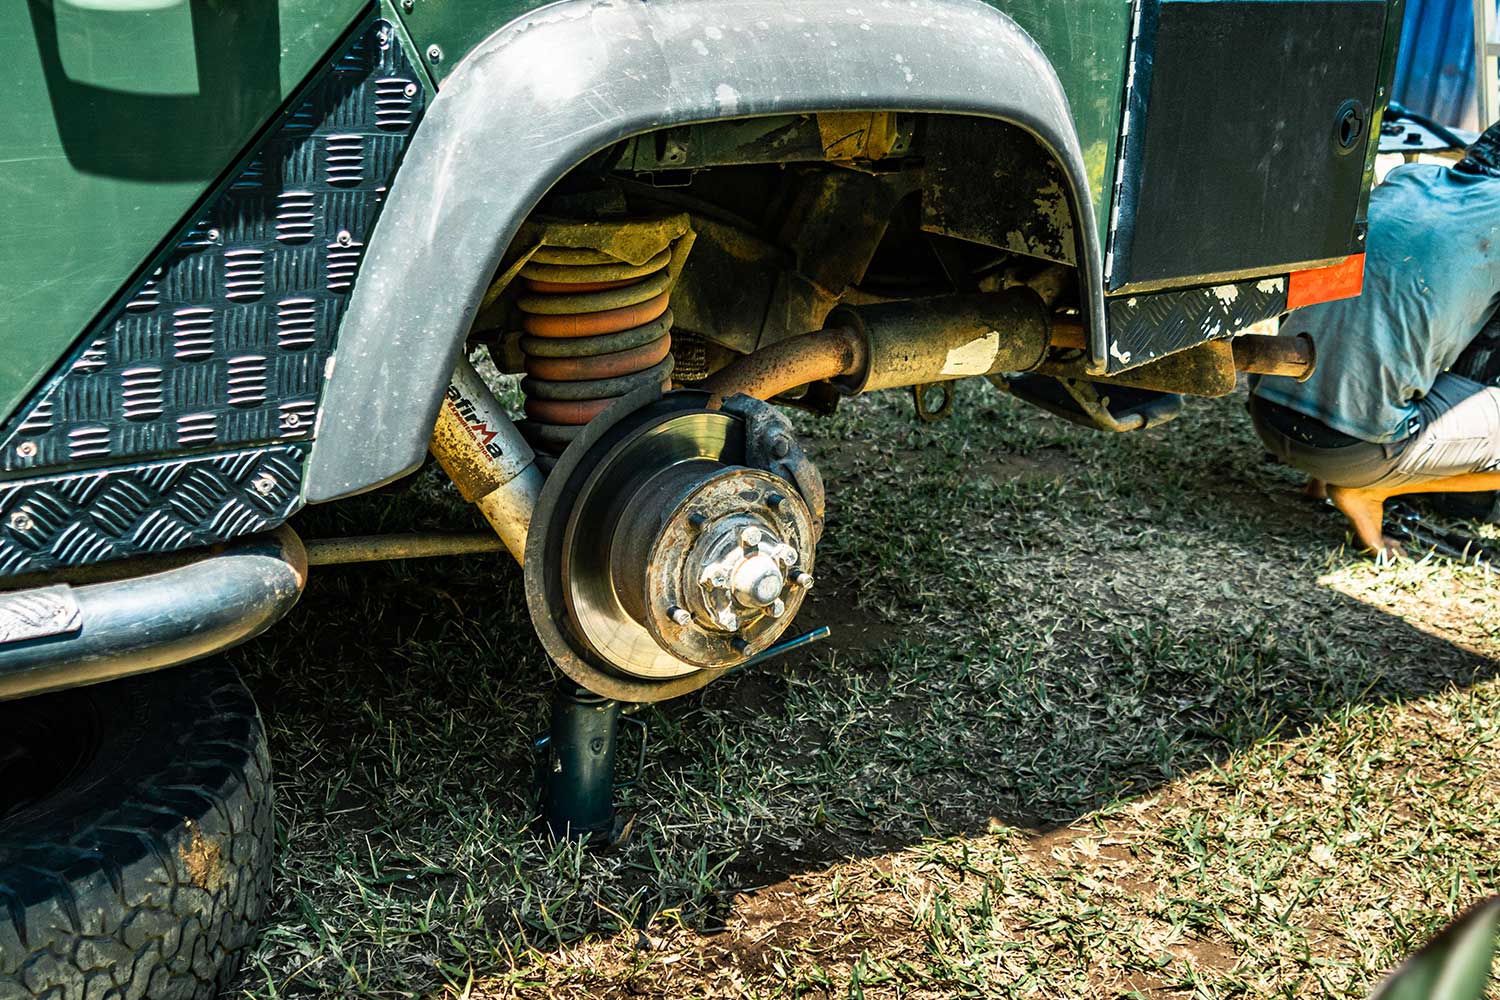
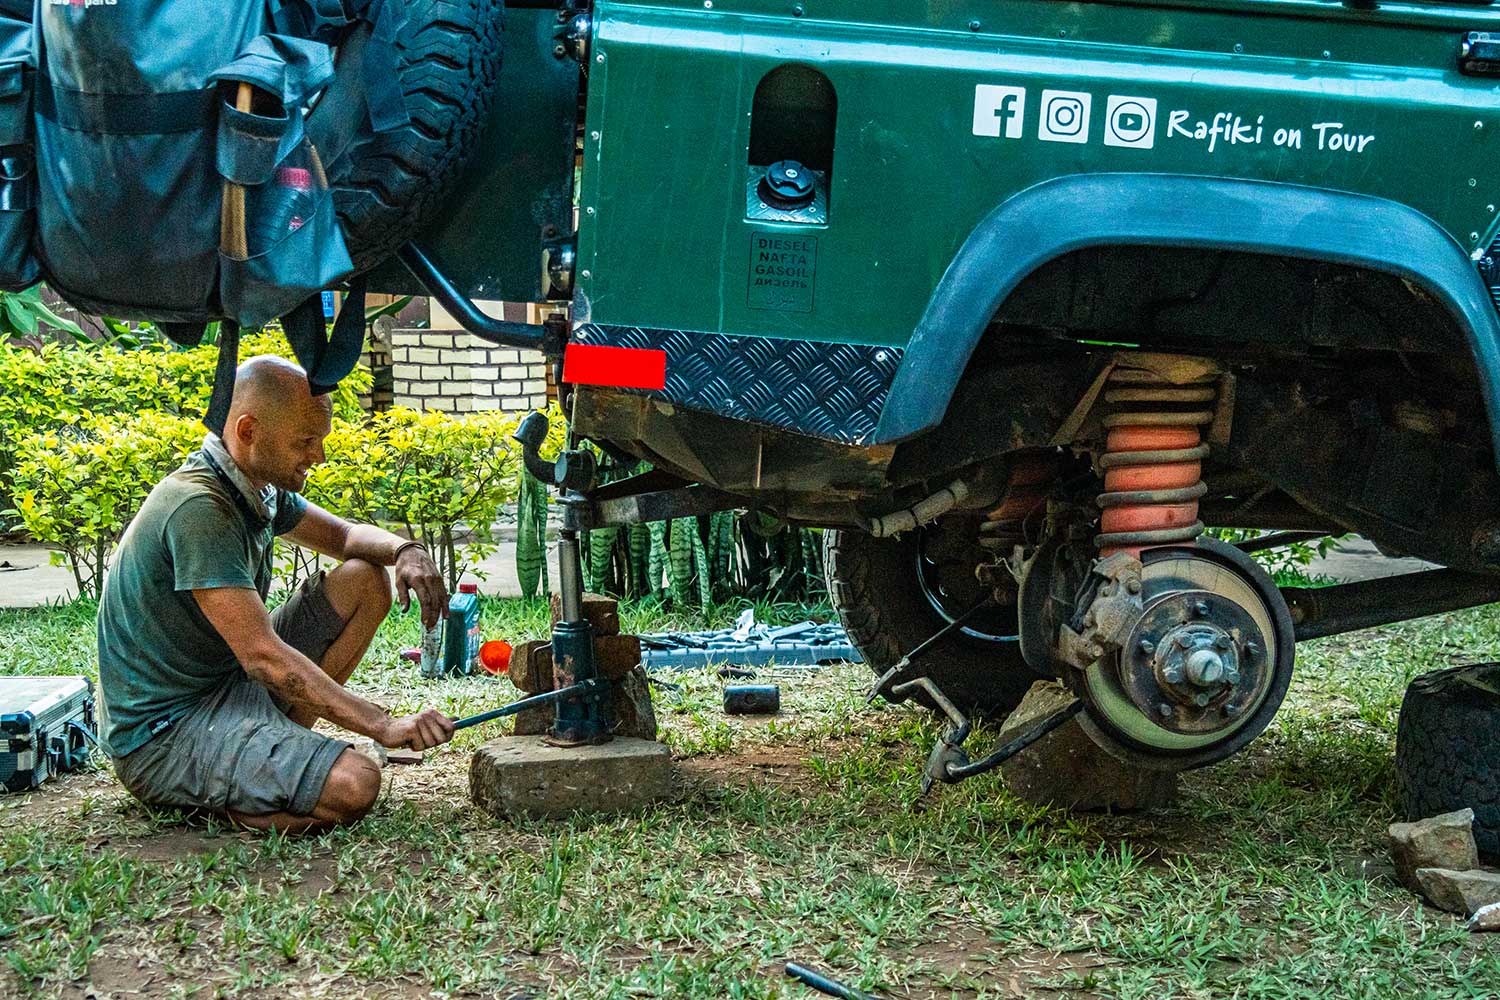
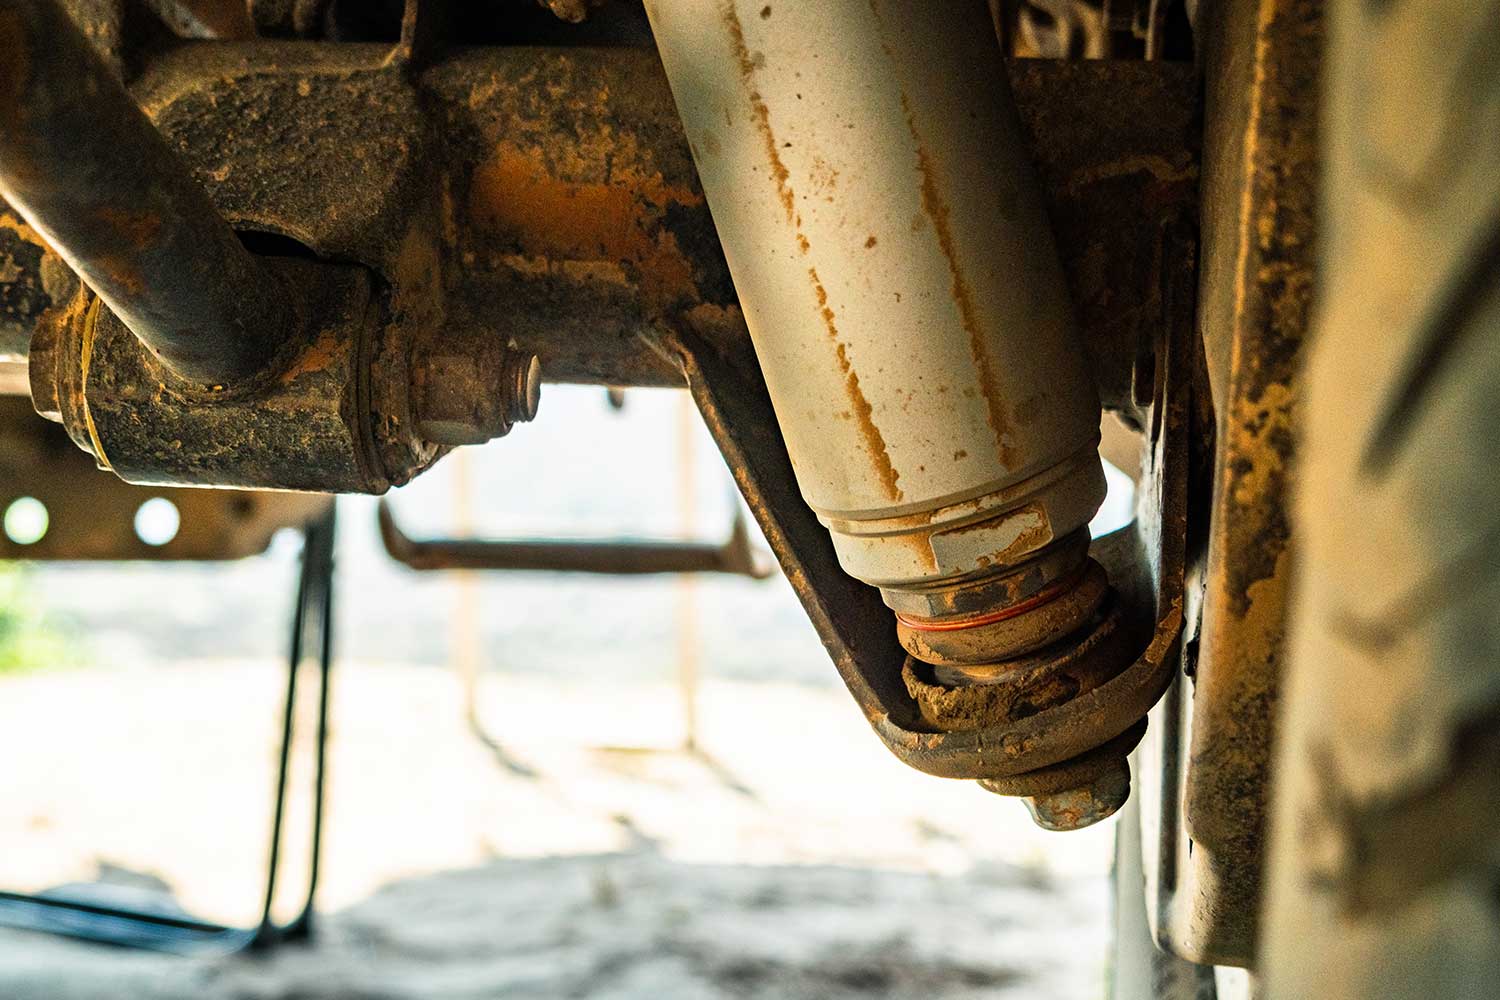
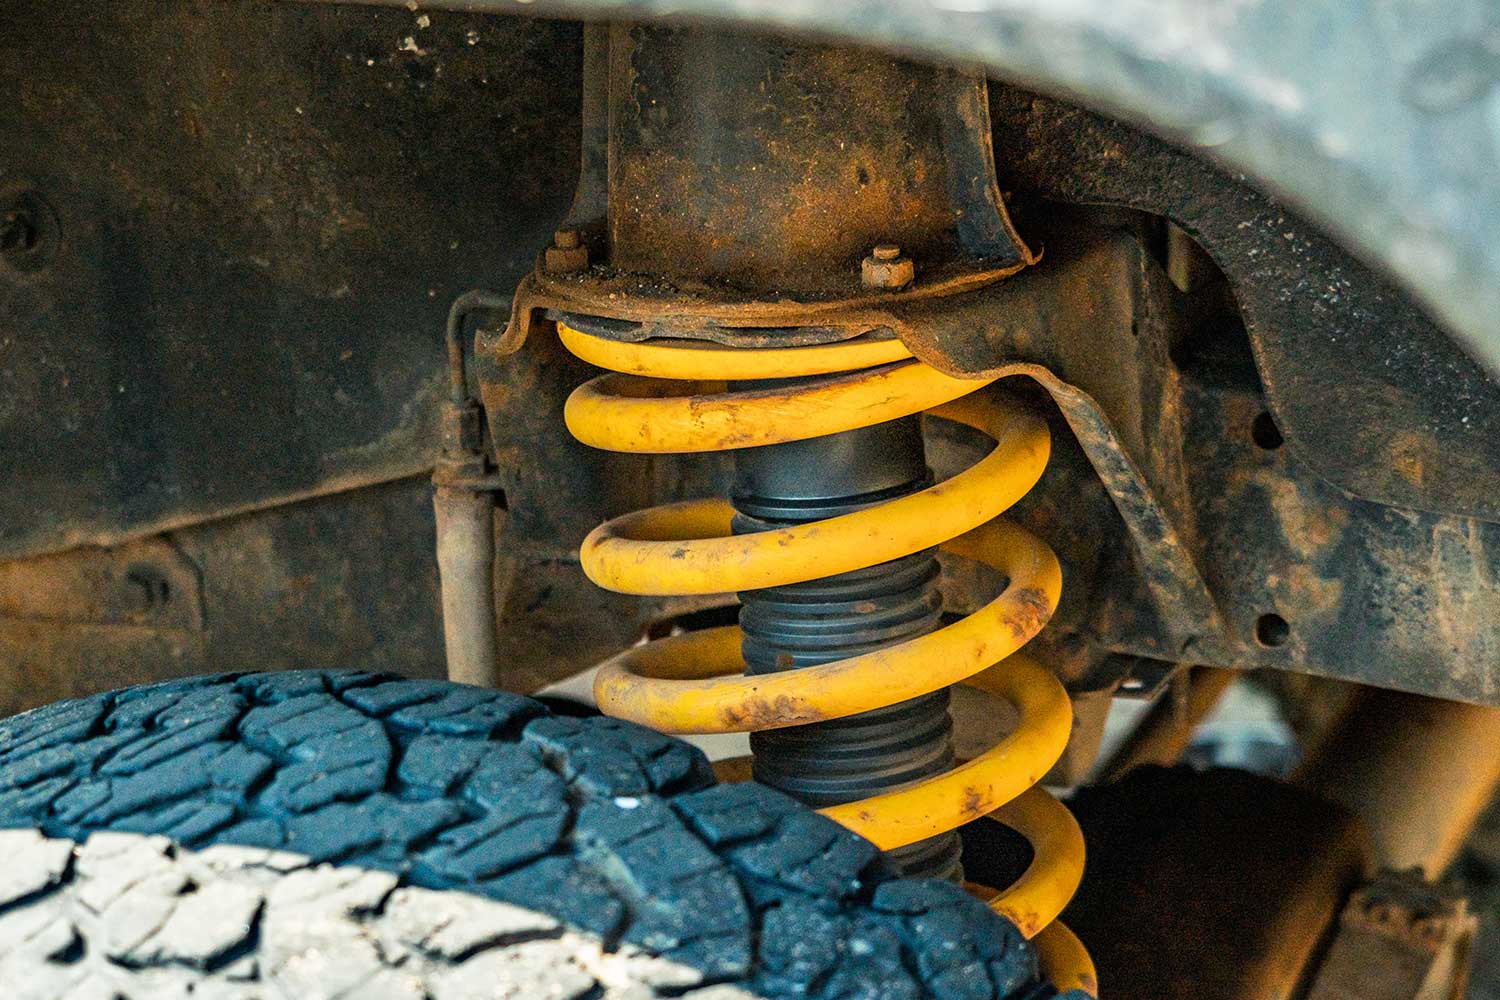
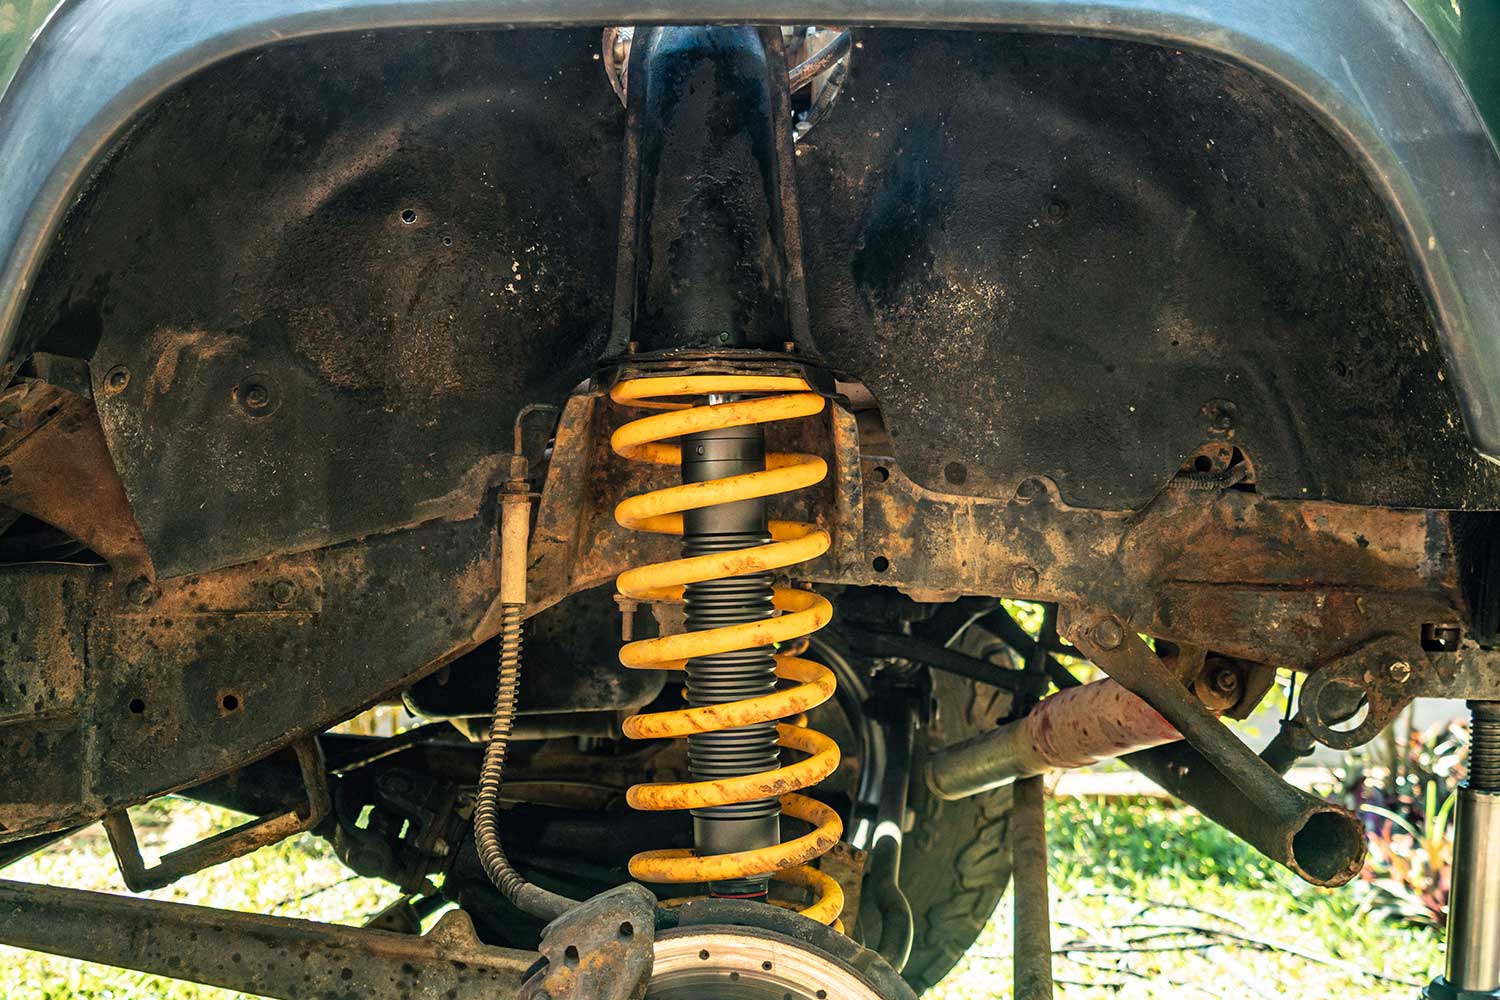
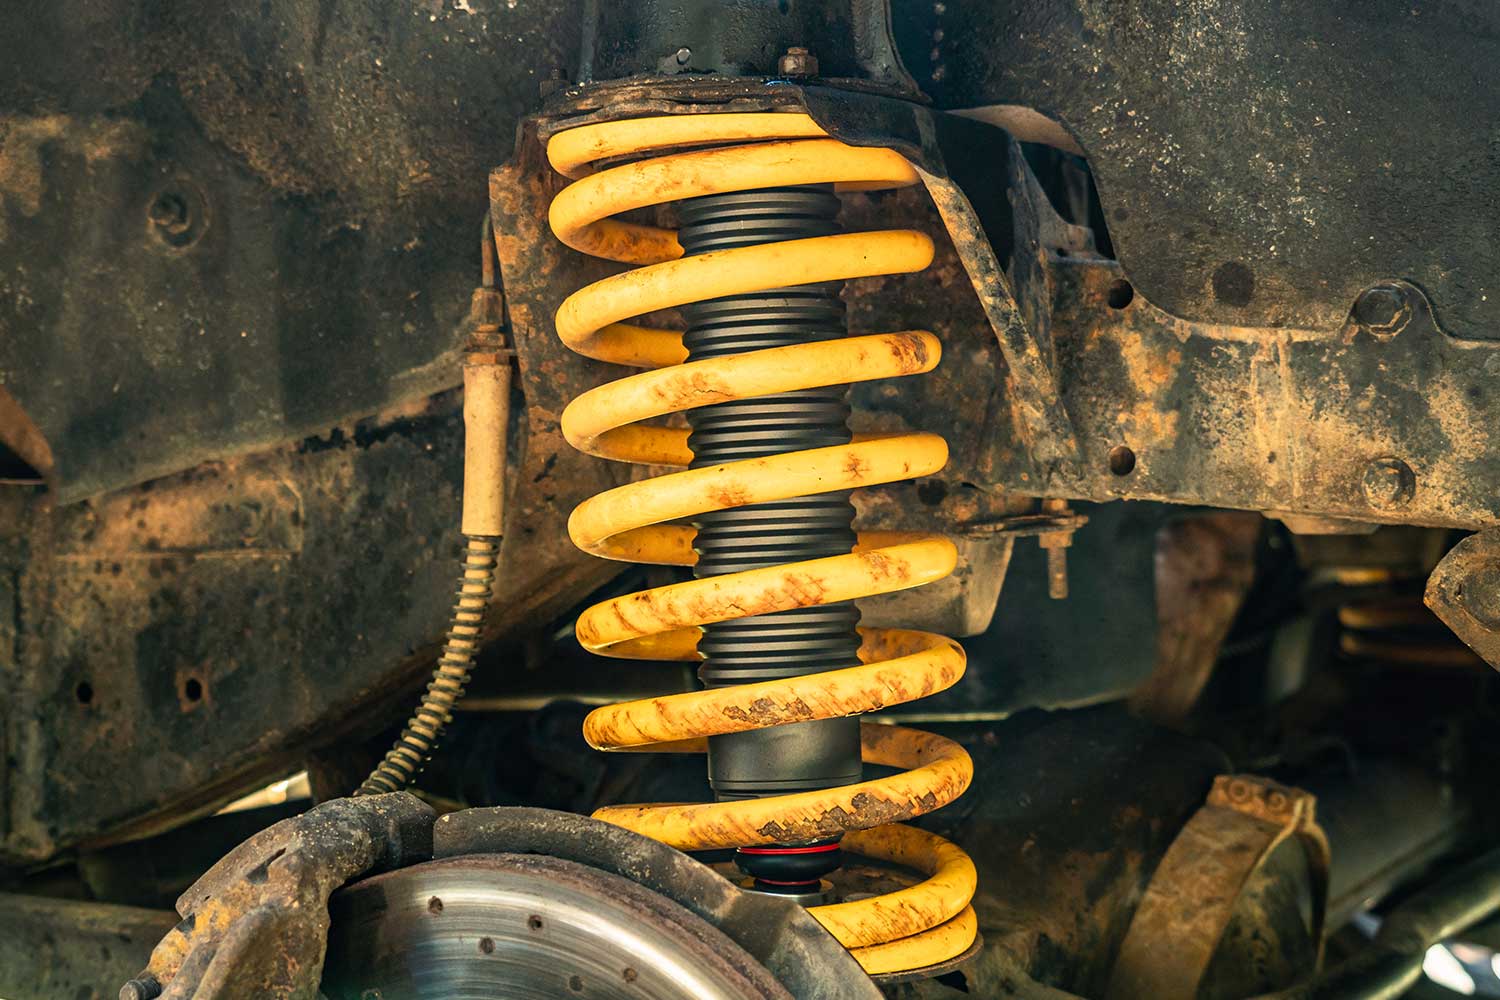
After we removed the old setup it was time to install the Nimbus Suspension shock absorbers. Again, we started at the rear, followed by the front. As we were doing this on a campsite our biggest challenge was lifting the vehicle high enough to create space to mount these pressurized shocks. As they can’t be compressed by hand, you need to stretch the vehicle’s suspension so these shock absorbers slot right in. Doing this in a modern-day workshop is relatively easy, as a normal workshop jack will likely lift the vehicle high enough. In our case, we used a bottle jack and had to use every single stone at hand to lift the vehicle step by step. Unfortunately for the campsite owner, this meant dismantling his fireplace, but that was quickly resolved afterward.
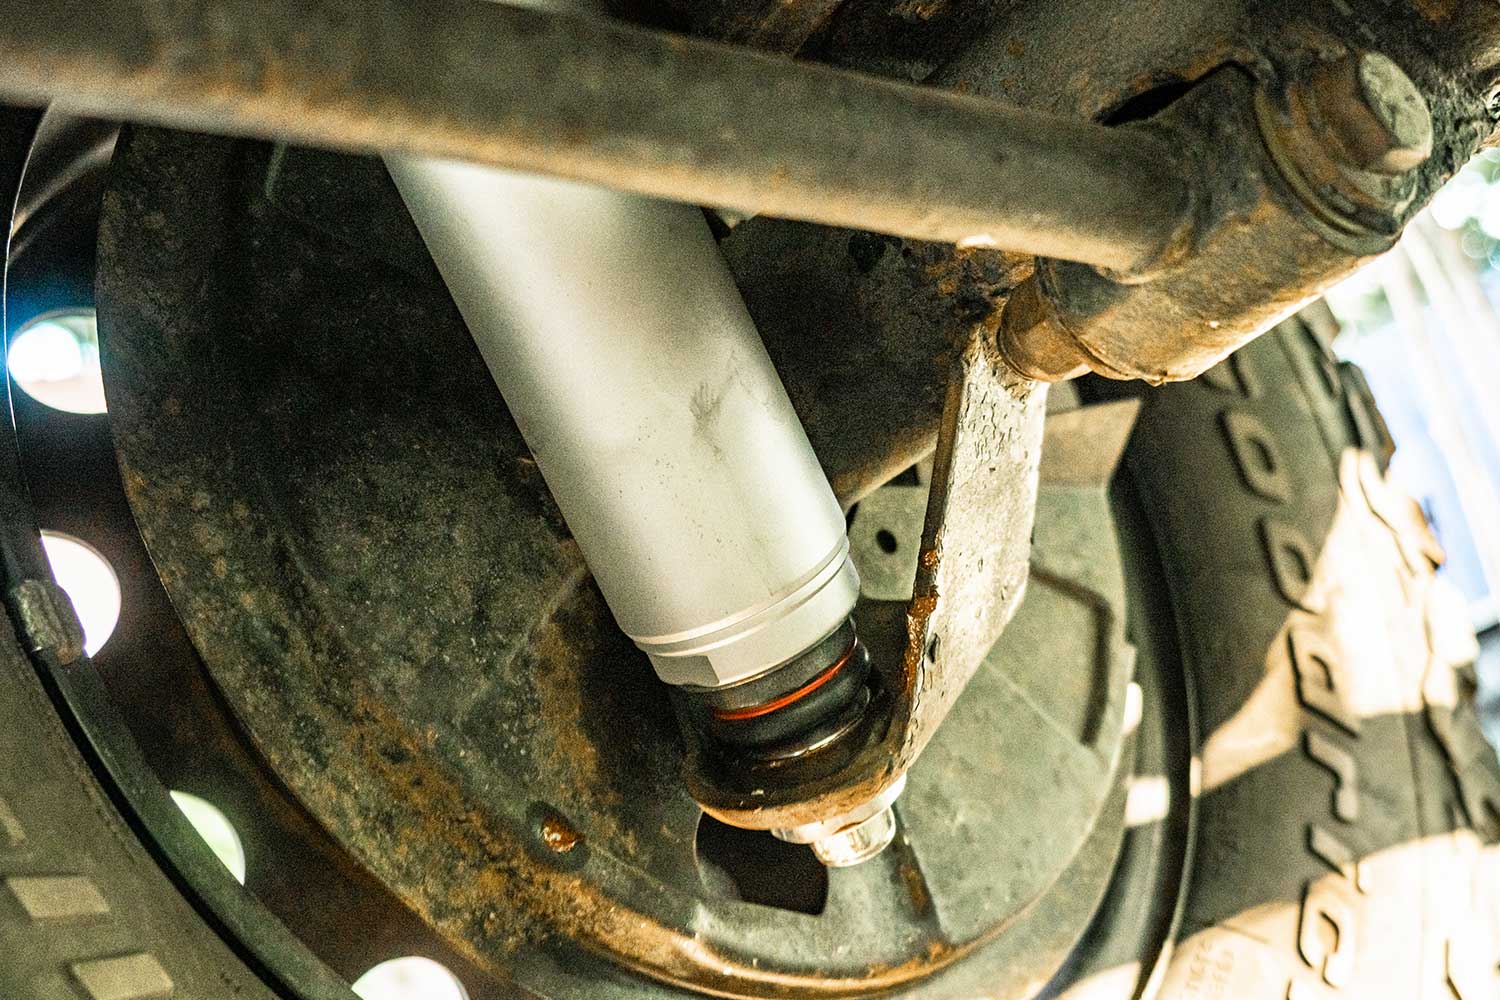
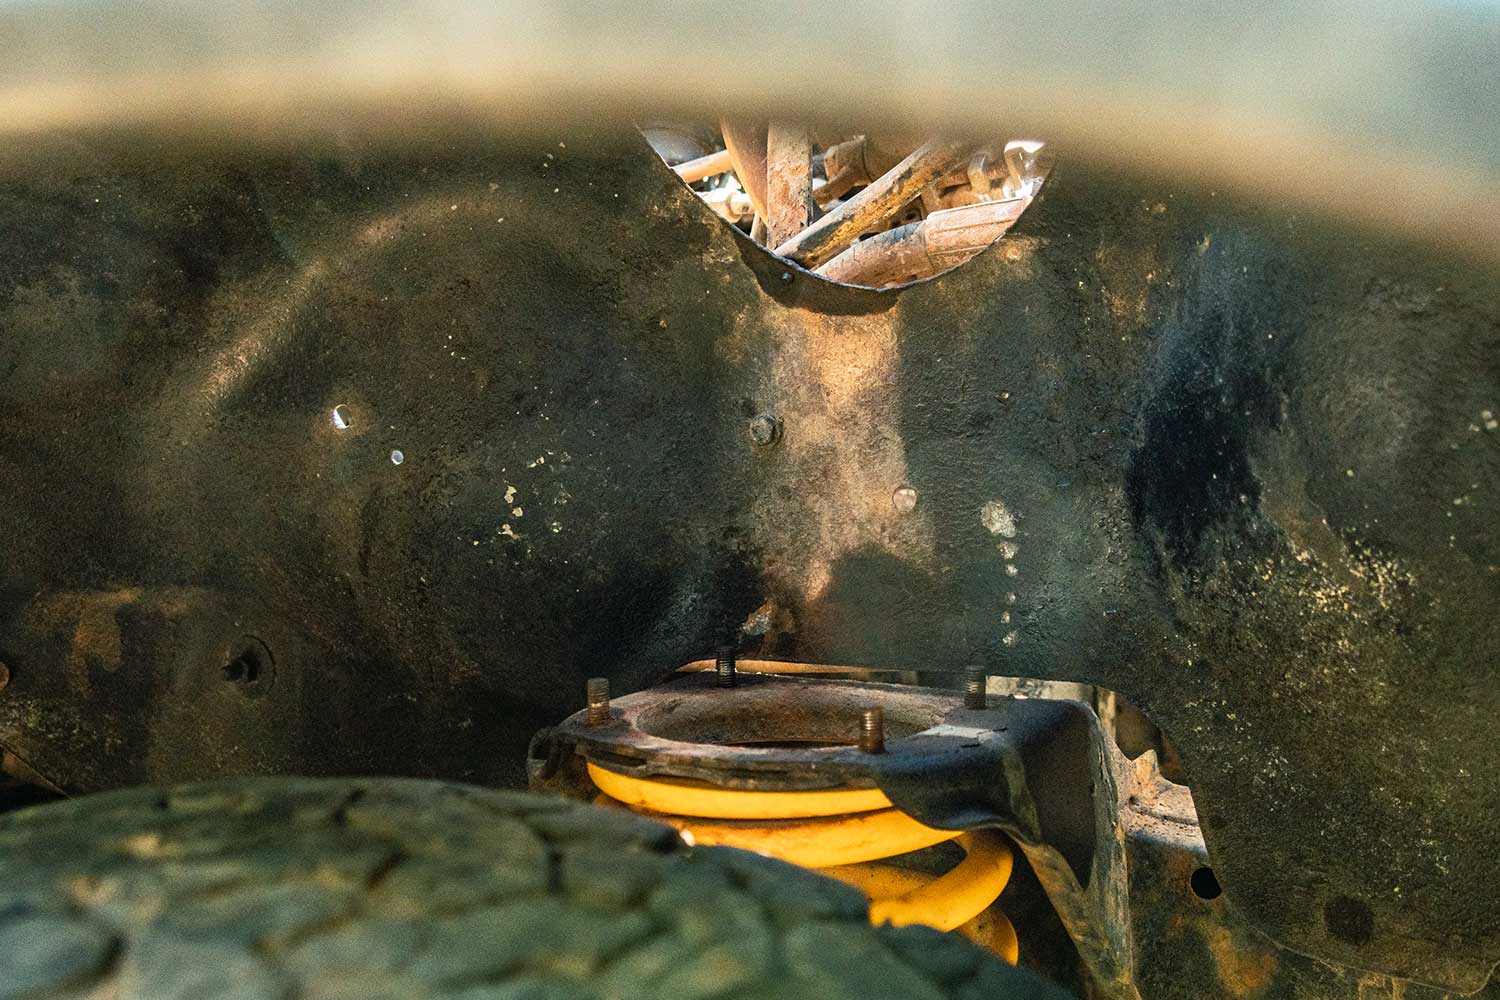
Looking back, the installation at the rear was the hardest, as it required the biggest lift. We installed the rear shocks by inserting the ball joint stud in its mount first, then sliding the top bearing over its mounting bracket. Once everything was in place, we loosely tightened everything up, lowered the vehicle to put pressure on the system, and tightened everything further according to spec (as hard as you can torque it).
The front was much easier in comparison. We mounted the shock onto the turret and slotted the whole assembly back in place onto its mount. After securing the turret, we loosely put the bottom shock nut on. We then lowered the vehicle slightly, putting pressure on the system so we could tighten everything up. Although the front might sound more complicated, it was way easier as it required less lifting of the vehicle.
Looking back at the process, there are a few parts that we would recommend replacing while you’re at it:
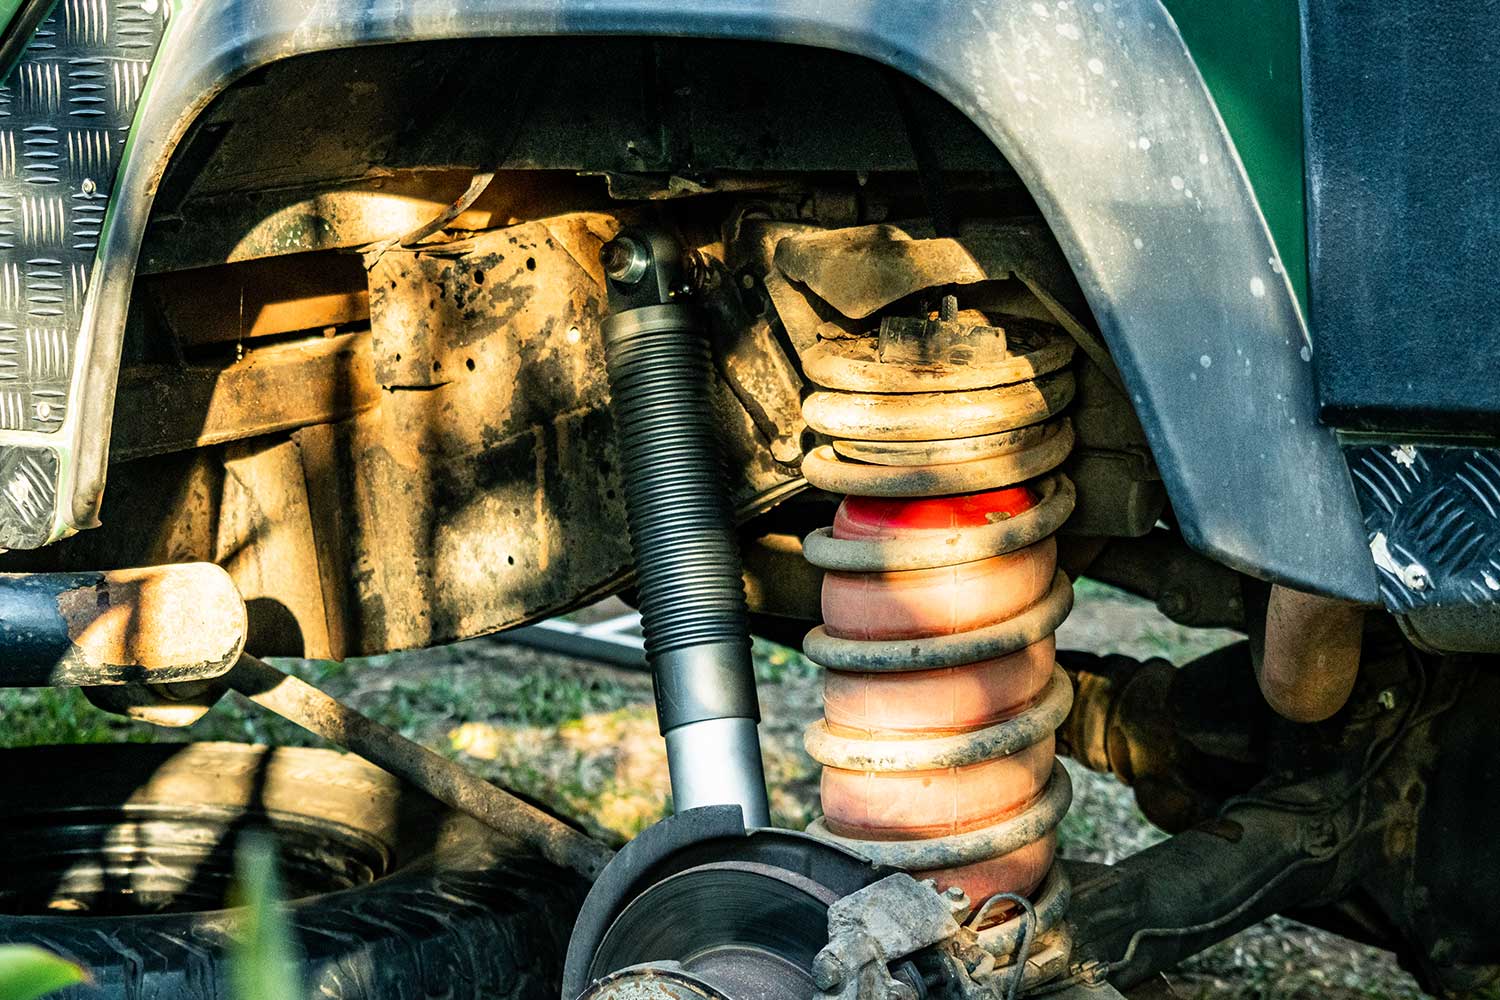
Nimbus recommends upgrading the springs too. But, during our installation, we had no access to new springs. Hence we kept the current setup. If you are installing new springs we recommend using spring retainers too. We recommend talking to Nimbus to determine what works best for your vehicle.
As long-term overlanders we fully understand the need for high-quality and reliable gear. We know that if gear isn’t up to standard it can hinder your adventures, resulting in discomfort or a dangerous situation.
We write our reviews after extensive testing and with you – an adventurous overlander – in mind. We hope you appreciate our information, and feel free to reach out if you have any questions.
We are happy to say the installation went well. Although it took us two full days due to our circumstances, we believe it’s an easy job that can be done in a short morning. It’s a bolt-on solution, requiring no adjustments except removing the bottom cup at the rear shock absorber mount. Although the pressurized technology results in an extended shock, the installation is straightforward as long as you can lift the vehicle high enough. Looking back, we should have installed the Nimbus setup in a workshop with access to a proper jack and tools. At least we’ve proven the installation can be done in the field.
We can imagine this three-part series with our first impressions, the installation, and our 5000-kilometer review of Nimbus Suspensions has sparked your interest, as it certainly would spark ours. Feel free to reach out with any questions you might have. We’d love to share our latest findings and are happy to discuss the huge diversity of suspension setups.
Feel free to reach out to us on Instagram, or via info@rafikiontour.com, with any questions that come to mind!
Want to discuss more of our experiences with the Nimbus setup? We are always on the move and thus are always gaining new insights. Feel free to reach out!
Appreciate this info and have something to spare? Buy us a coffee!
We hope our blog provided you with practical information that’s useful to your adventures. Want to dive deeper into this or other subjects, and plan a call? We are here to help!
Hi there adventurer! A quick heads-up: This product is provided (for free or at a discount) to us in support of our adventures. This review contains opinions of our own and is not influenced by the collaboration. We know the importance of high-quality gear and truthful reviews, as you will rely on it on the trails, and so do we. Feel free to reach out if you have any questions. Thank you and stay adventurous!


0 Comments